Posts filed under gimp

How To Make Glitter In Gimp


I just LOVE glitter! It's gorgeous and adds a nice sparkly touch to projects. Trying to capture its shimmer digitally can be a bit of a challenge. But after playing around with filters and tweaking settings, I think I've got a fairly simple way of making some sparkly, pretty glitter!

For this tutorial, I will be using GIMP 2.10, which a free, open-source image editor. You can download the latest version HERE.

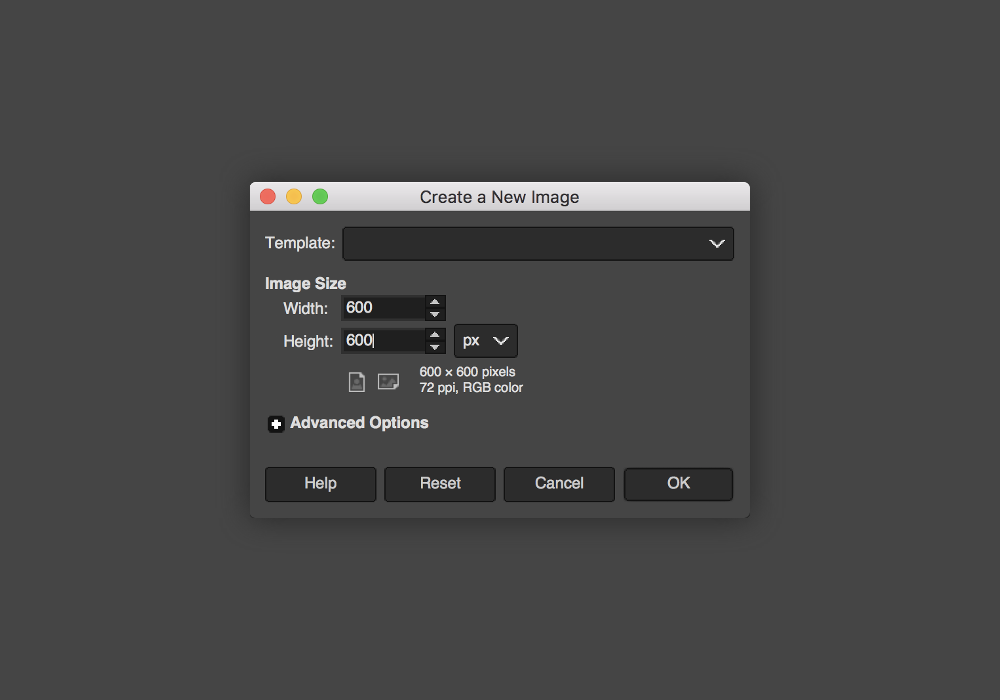
STEP 1 » We'll start by opening a new file. Go to File > New and choose the size you want your glitter texture to be. I'll be making mine 600x600 pixels but feel free to make yours bigger or smaller.

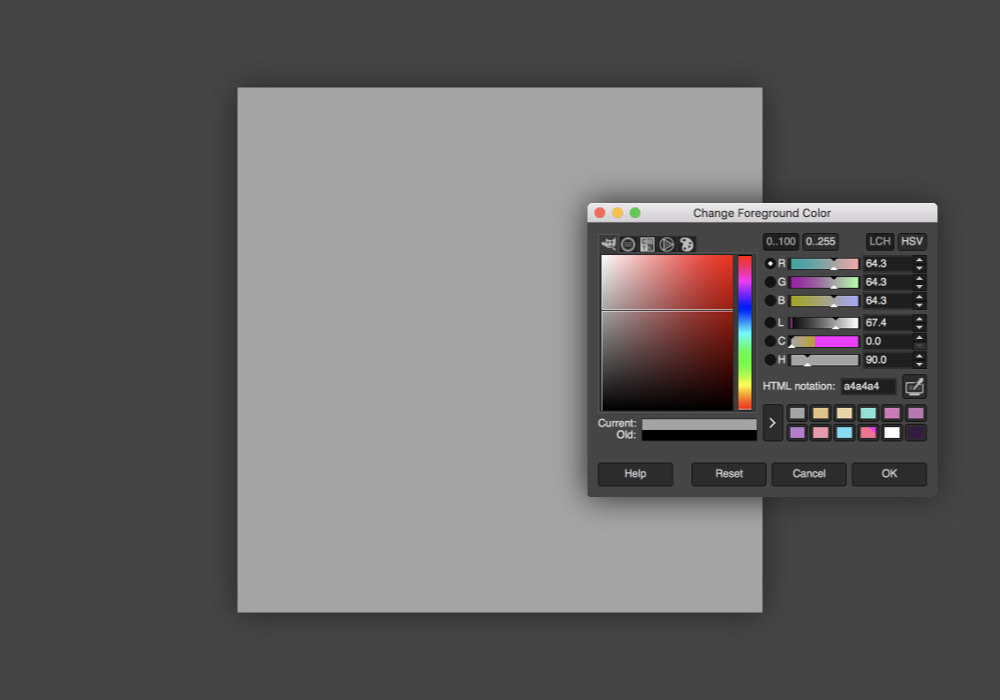
STEP 2 » Set your foreground color to #a4a4a4 and use either the Bucket Tool or go to Edit > Fill with FG Color to fill your canvas.

STEP 3 » Next, go to Filters > Noise > RGB Noise. Make sure only Correlated Noise is selected and set Red | Green | Blue to 0.500.

For GIMP 2.8: Set RGB to 0.25.
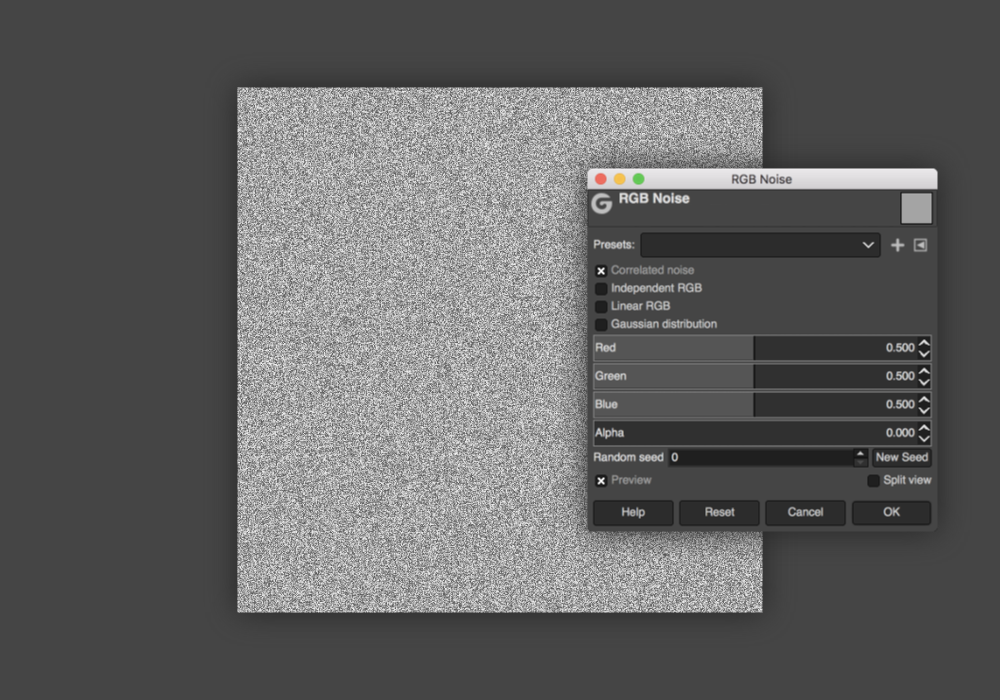

STEP 4 » Now we're going to make the glitter a little bigger by going to Filters > Artistic > Cubism. Set the Tile Size to 2.00 and Tile Saturation to 2.500.

For GIMP 2.8: Set Tile Size to 1.3 and Tile Saturation to 1.6.
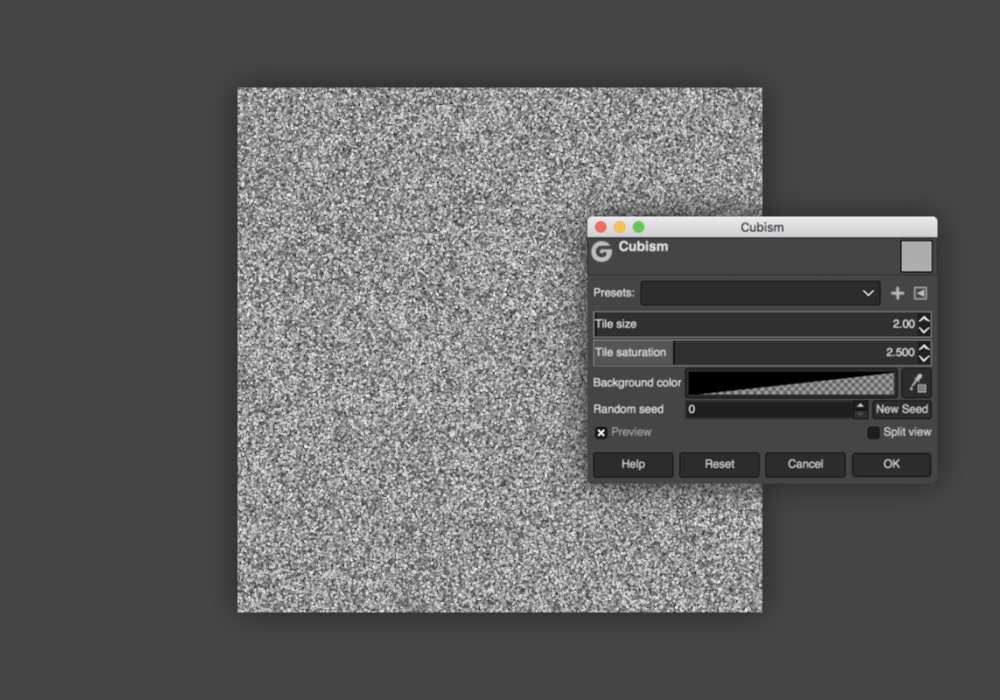

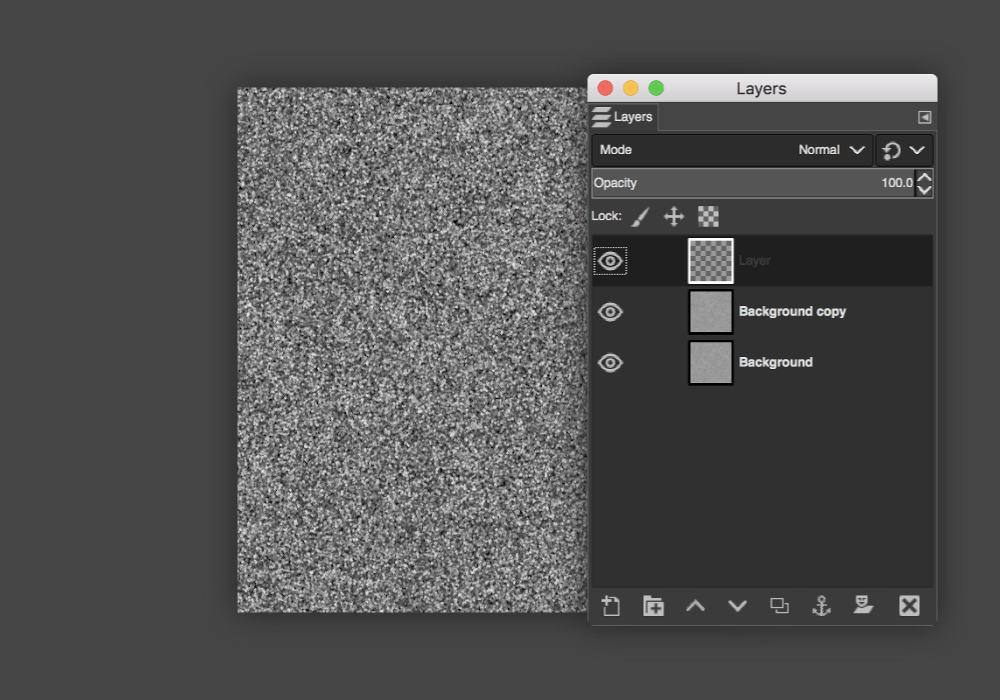
STEP 5 » In your layers panel, right-click the layer and hit Duplicate Layer. With the duplicated layer selected, go to Layer > Transform > Rotate 90° Clockwise.
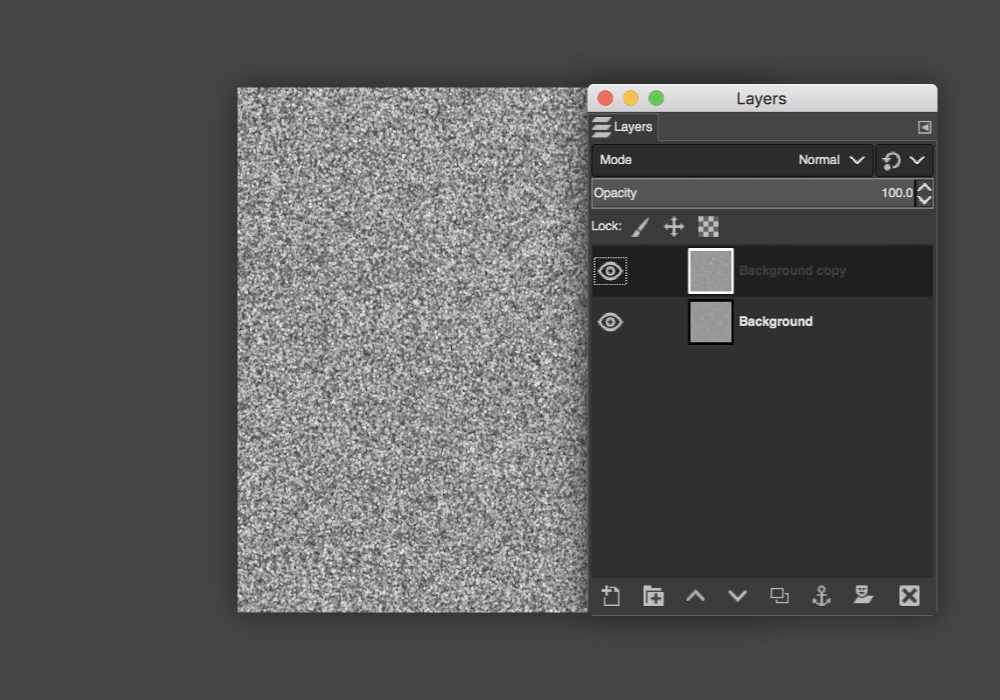

STEP 6 » Change the layer Mode of your rotated layer to Burn and change the Opacity to 50.0.

For GIMP 2.8: Set the Opacity to 25.0.
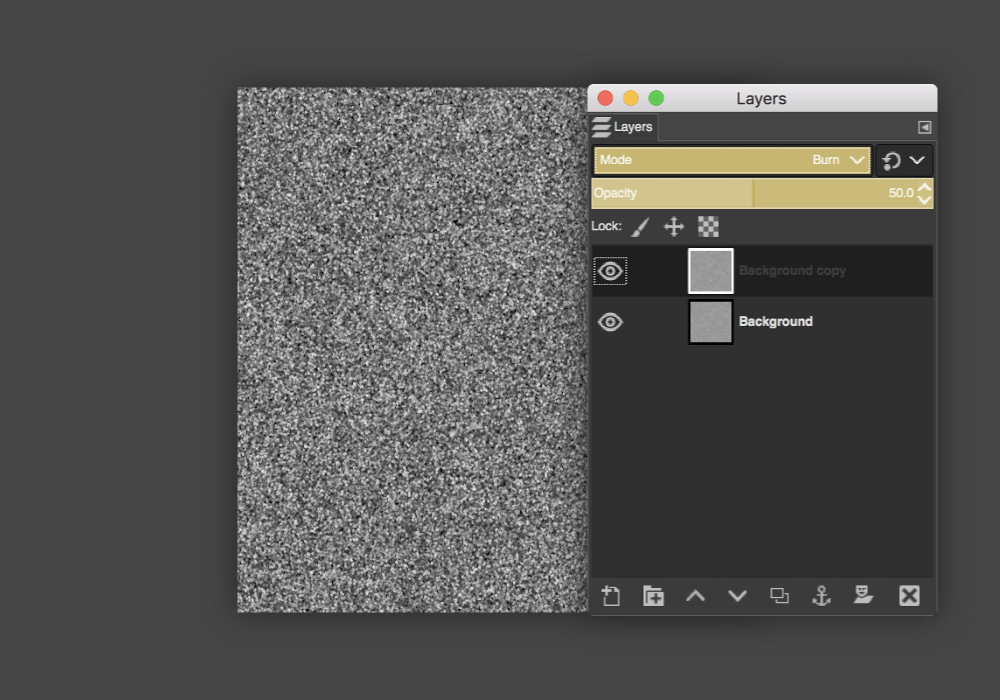


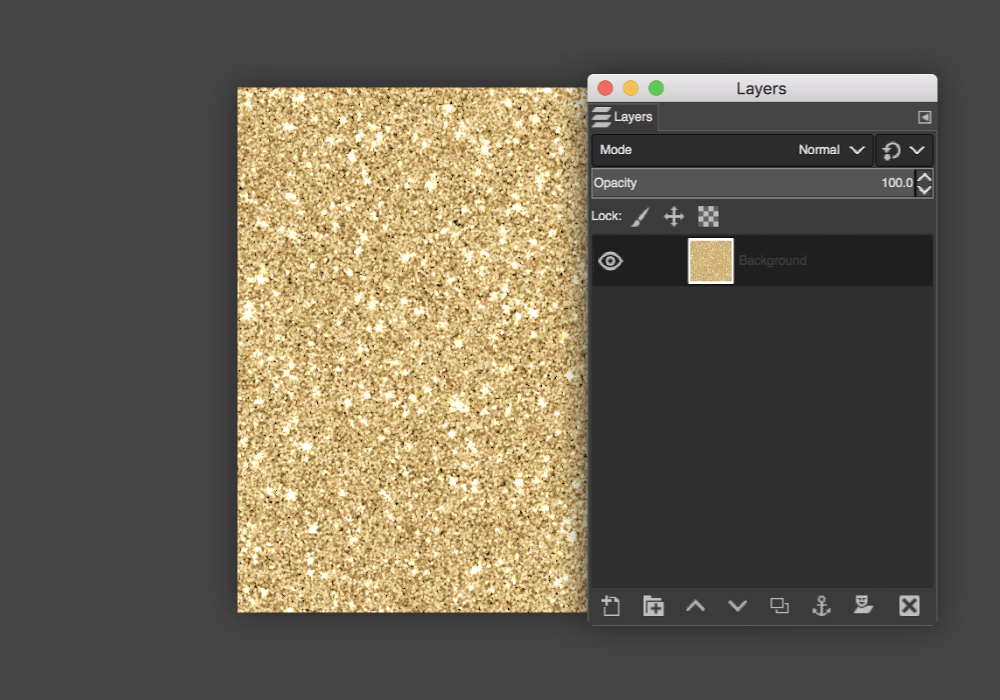
STEP 7 » Add a new layer by going to Layer > New Layer.


STEP 8 » Select a foreground color for your glitter–I'll be using #e5c181–and fill your new layer.
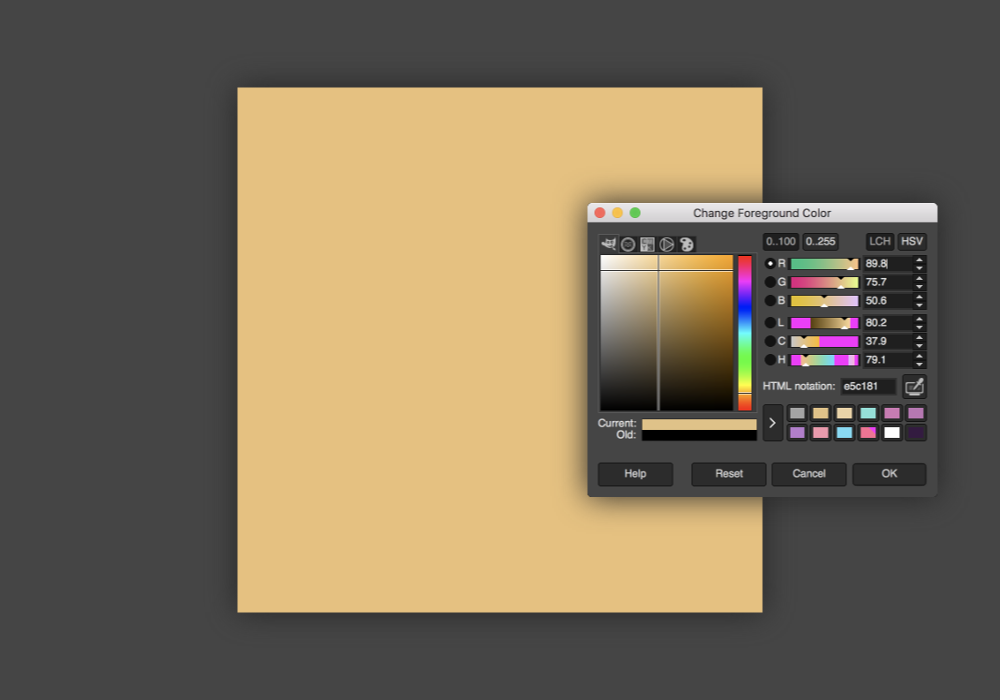

STEP 9 » Change the layer Mode to Soft Light.
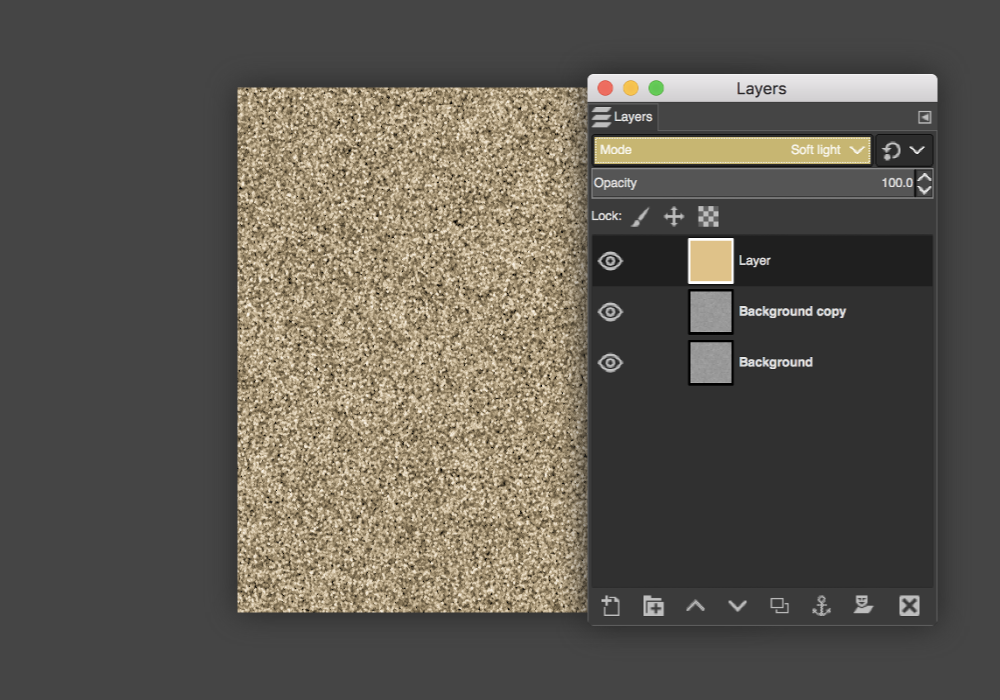

STEP 10 » With your newly filled layer, right-click and hit Duplicate Layer.
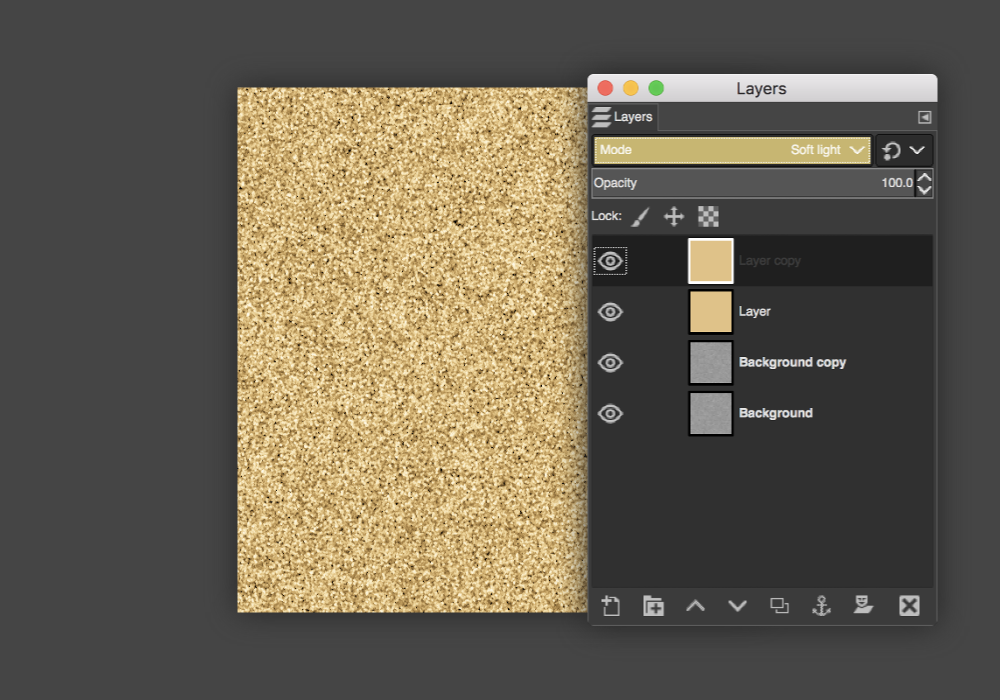

STEP 11 » To complete the next step, we'll need to first right-click the top layer and hit Merge Visible Layers.
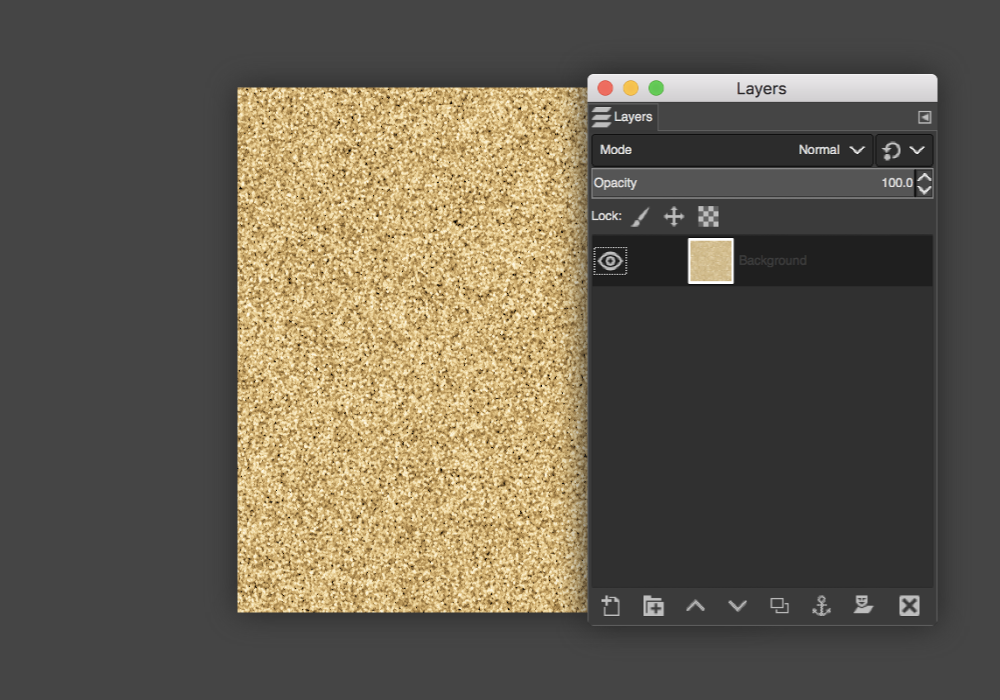

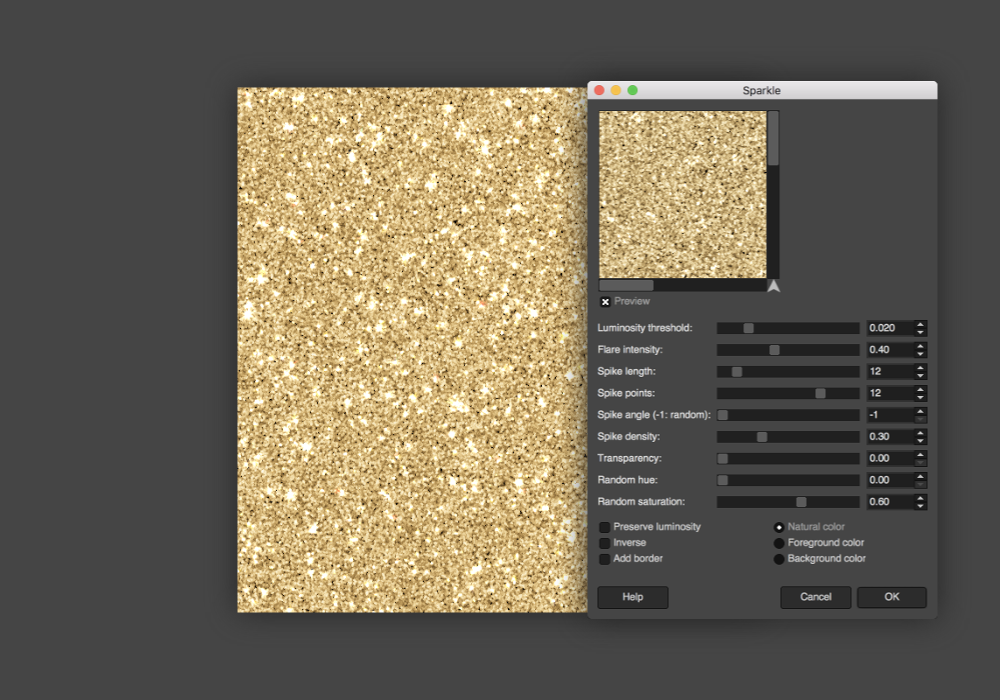
STEP 12 » Go to Filters > Light and Shadow > Sparkle. Input the following settings:
Luminosity threshold: 0.020 | Flare intensity: 0.40 | Spike length: 12 |  Spike points: 12 | Spike angle: -1 | Spike density: 0.30 | Transparency: 0.00 | Random hue: 0.00 | Random saturation: 0.60 | Select Natural Color.

For GIMP 2.8: Luminosity threshold: 0.020 | Flare intensity: 0.40 | Spike length: 6 | Spike points: 12 | Spike angle: -1 | Spike density: 0.30 | Transparency: 0.00 | Random hue: 0.00 | Random saturation: 0.50 | Select Natural Color.

STEP 13 » Finish by right-clicking the top layer and hitting Merge Visible Layers.

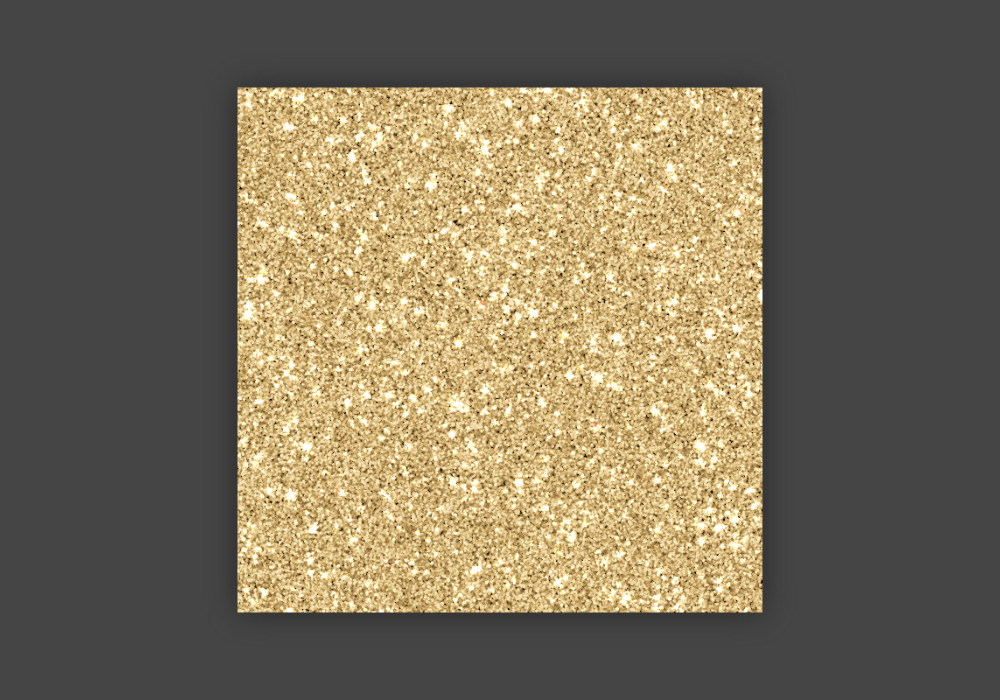
And there you have it! Your very own glitter texture. Pretty, isn't it?

I hope you enjoyed this tutorial!

How to Create a Marble Texture in GIMP


Marble is a classic texture that can be used in almost anything–graphic design, web design, interior design, fashion design–and today I'm going to show you an easy way to create your own!

For this tutorial, I will be using GIMP 2.10, which a free, open-source image editor. You can download the latest version here.

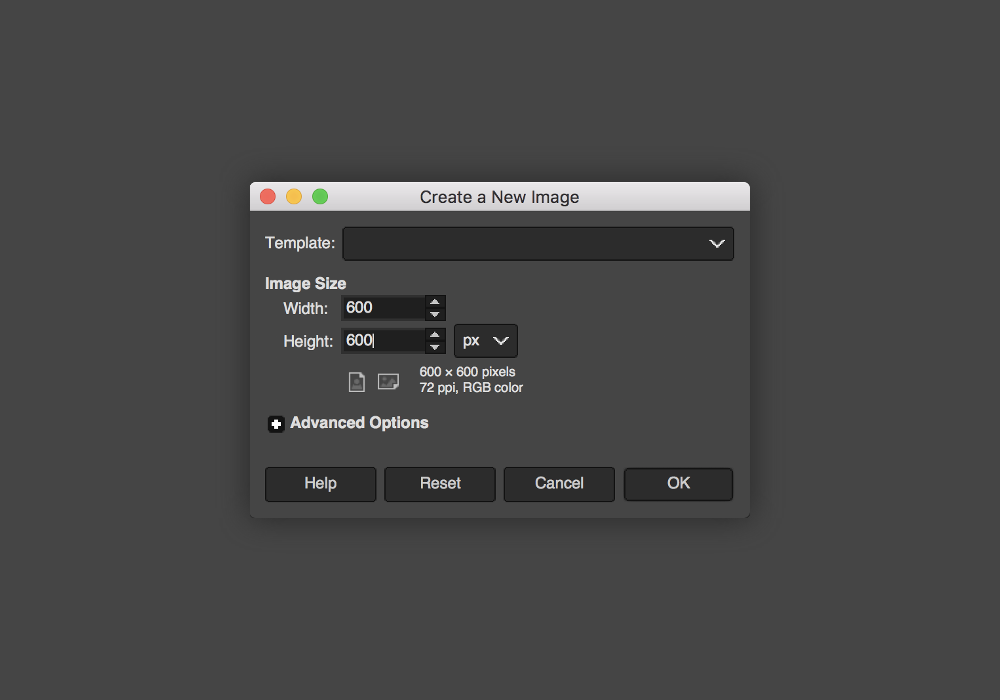
STEP 1 » Open a new file by going to File > New. I will be using a 600x600 pixel canvas but you can choose any size you like.

Make sure your foreground and background colors are set to black and white.


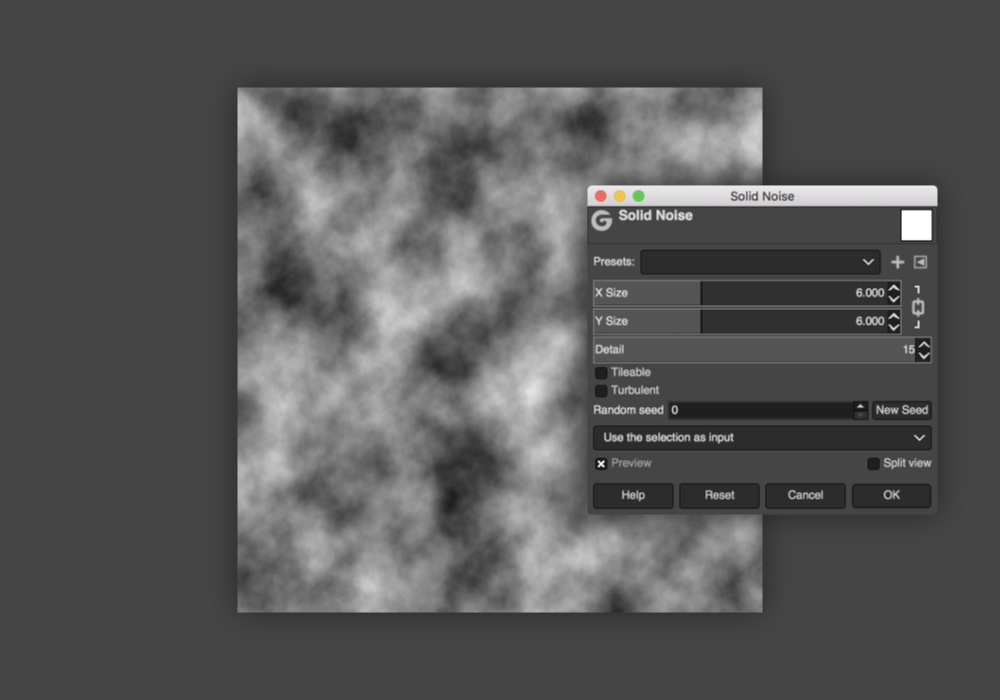
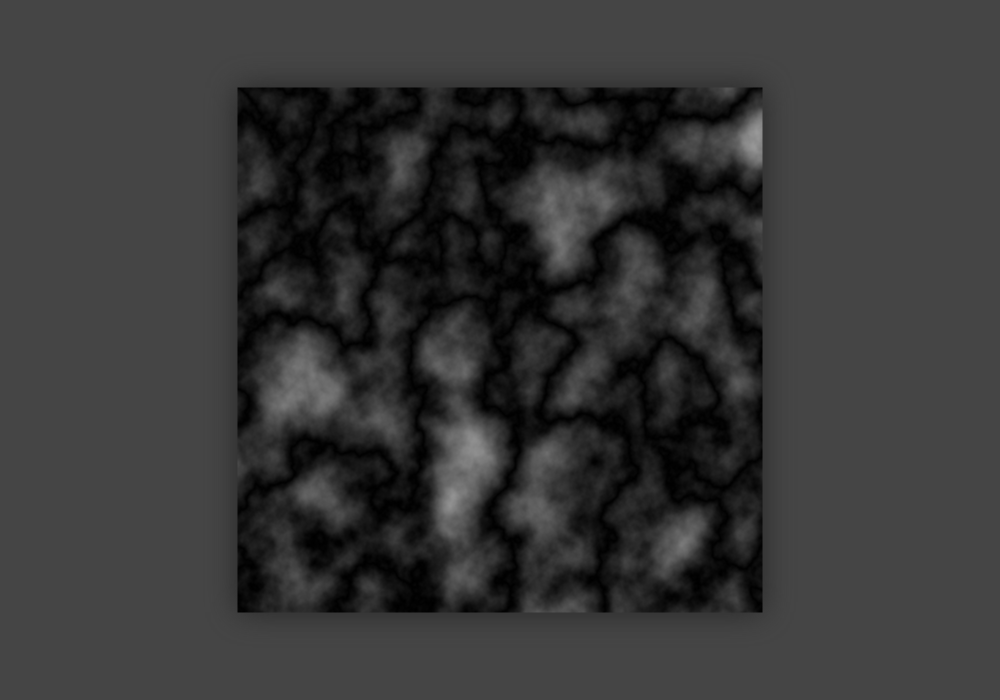
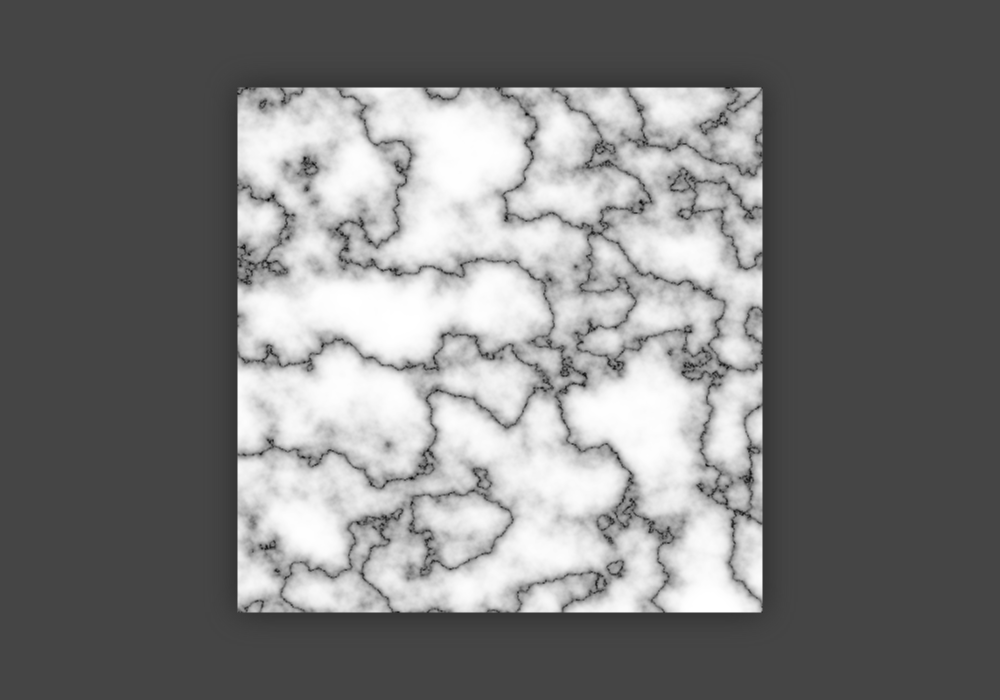
STEP 2 » Go to Filters > Render > Noise > Solid Noise. You'll want the X and Y Size to both be set at 6.000 and your Detail set at 15.


STEP 3 » Next, go to Filters > Render > Noise > Difference Clouds.

If you're using Gimp 2.8, set X/Y Size to 3.00 and Detail set at 1.


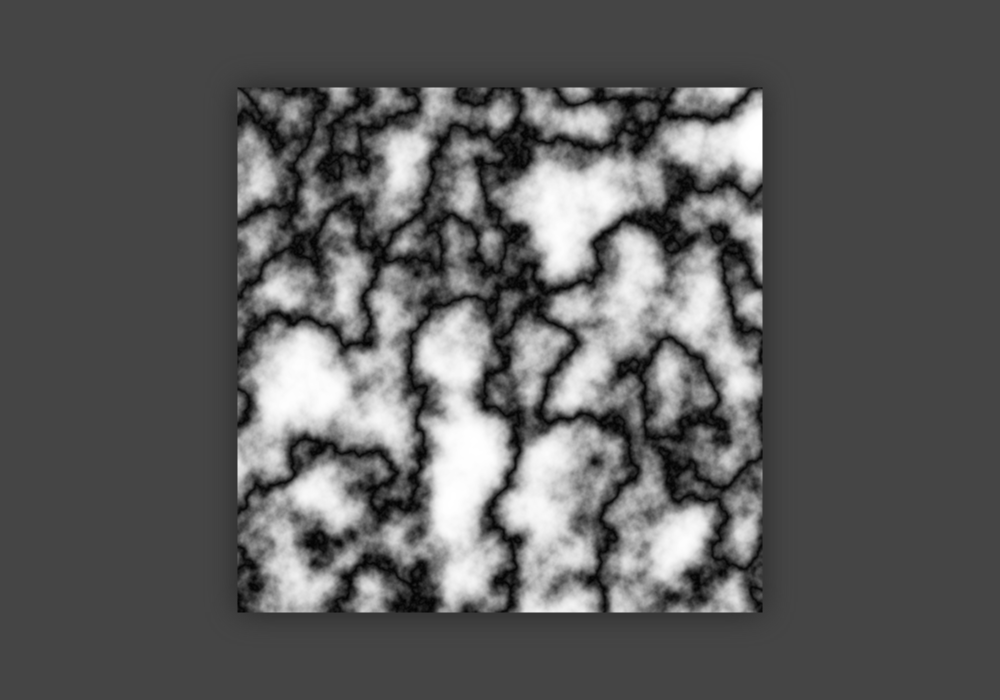
STEP 4 » Now we're going to brighten the gray areas and make the veins more defined by going to Colors > Auto > Equalize.


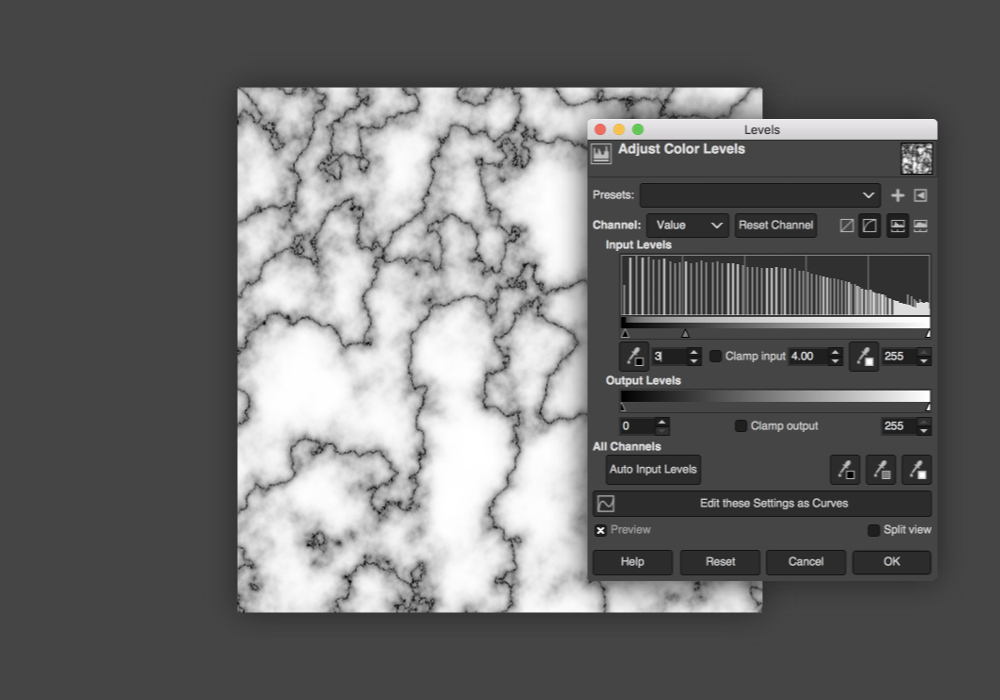
STEP 5 » The veins are too dark and thick so the next step is to go to Colors > Levels. I have my settings at 3 | 4.00 | 255 but feel free to play around with the sliders.


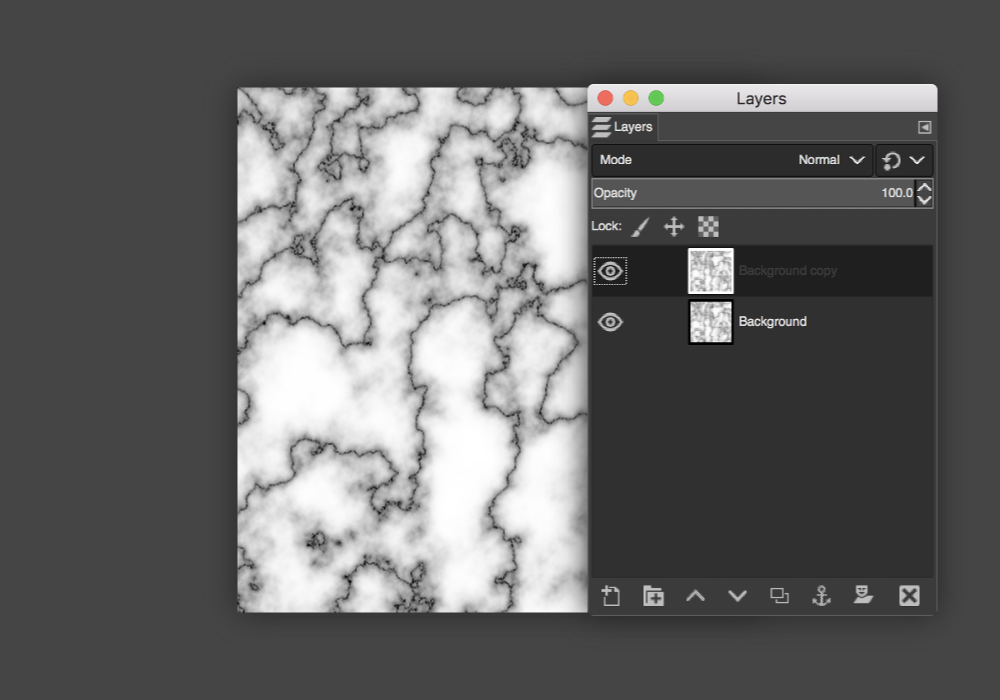
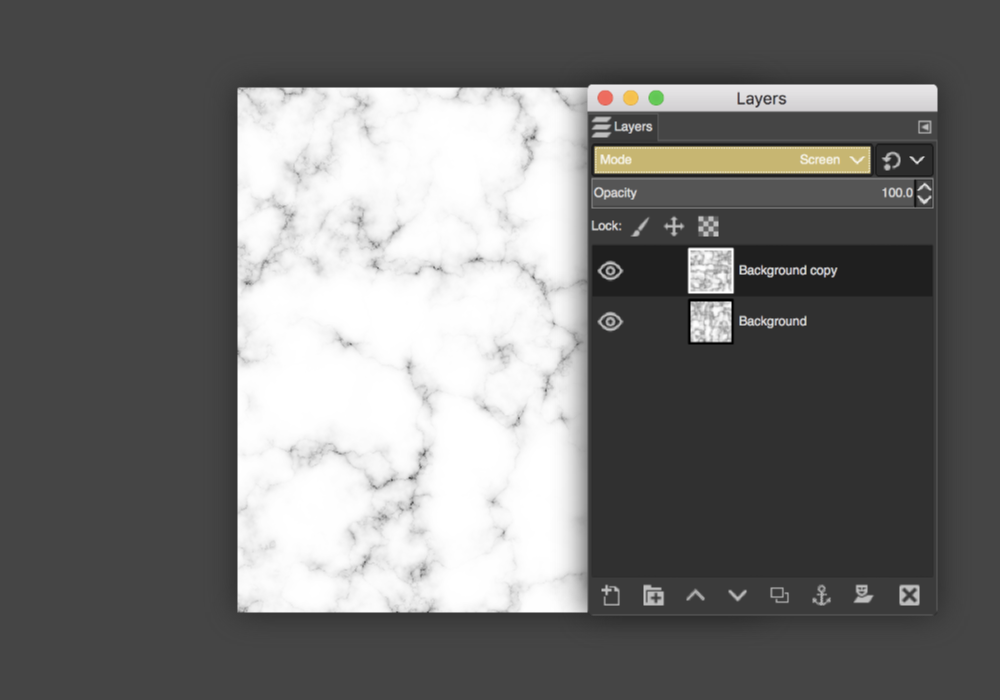
STEP 6 » In your layers panel, right-click the layer and hit Duplicate.


STEP 7 » With your duplicated layer selected, go to Layer > Transform > Rotate 90° Clockwise.


STEP 8 » Making sure the duplicated layer is still selected, set the layer Mode to Screen.


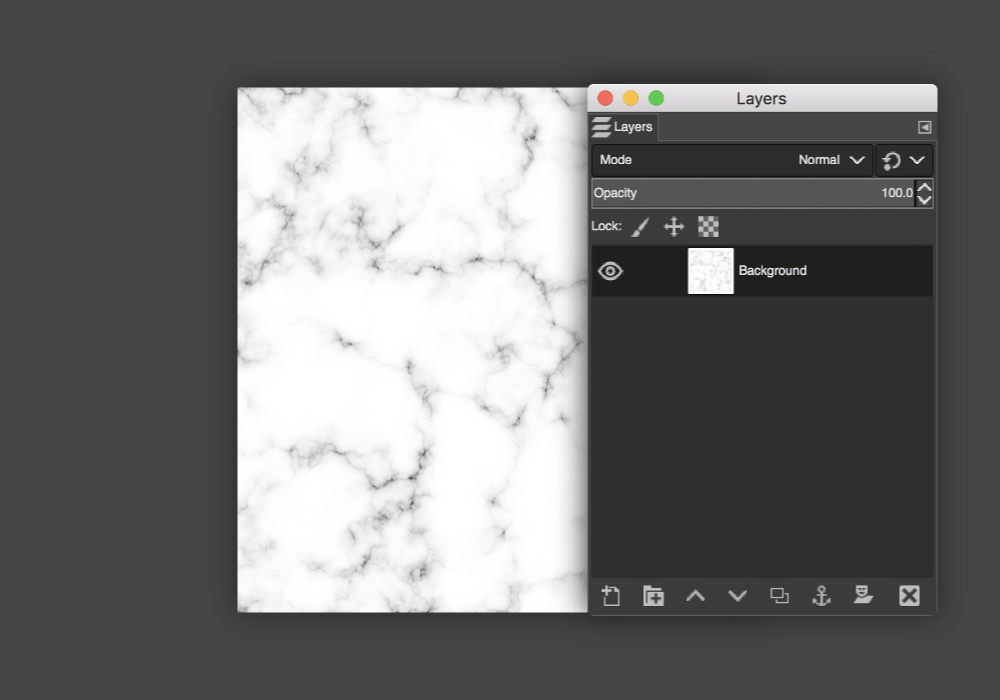
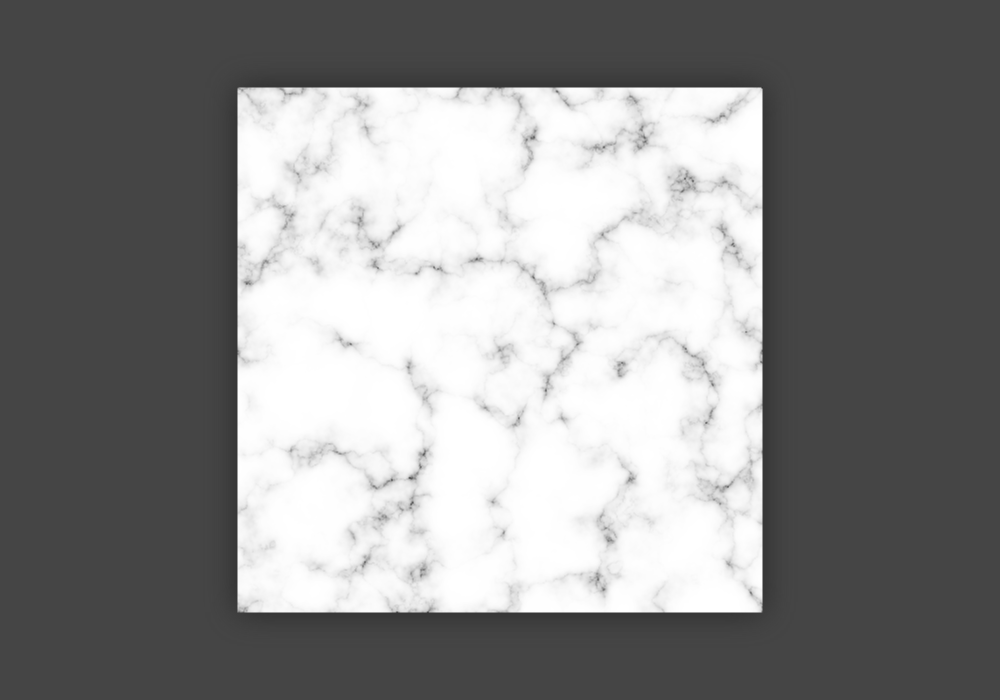
STEP 9 » To finish, right-click the top layer and hit Merge Visible Layers.


Ta-da! You've got yourself a beautiful marble texture.


OPTIONAL: Changing the color of the marble texture

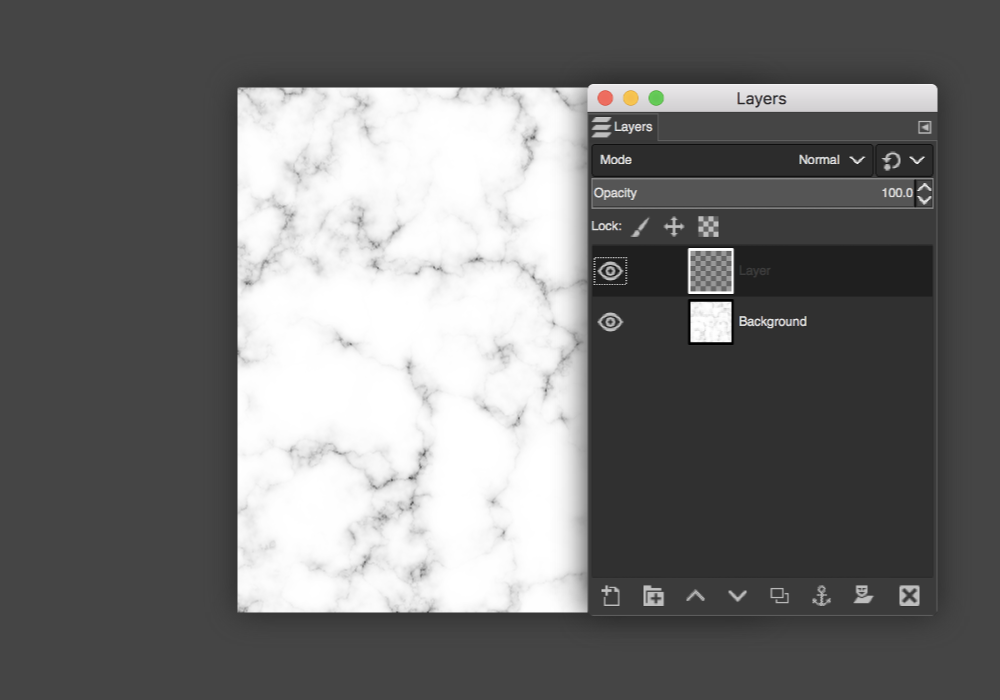
STEP 10 » Add a new layer on top of the texture by going to Layer > New Layer.


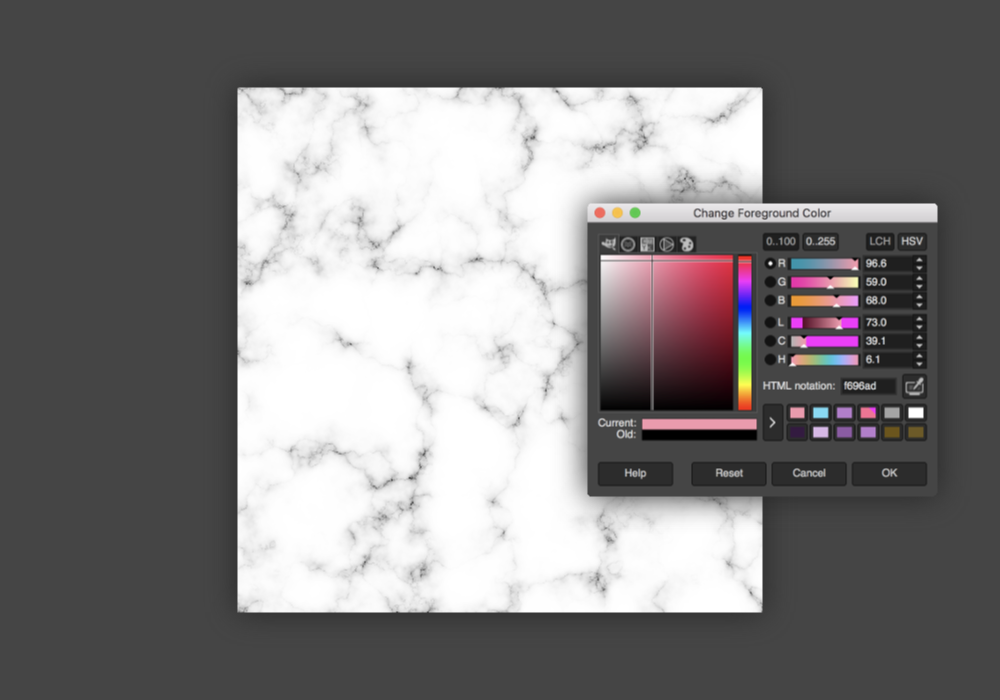
STEP 11 » Set your foreground with the color you'd like to change it to. For this example, I'll be using #f696ad.


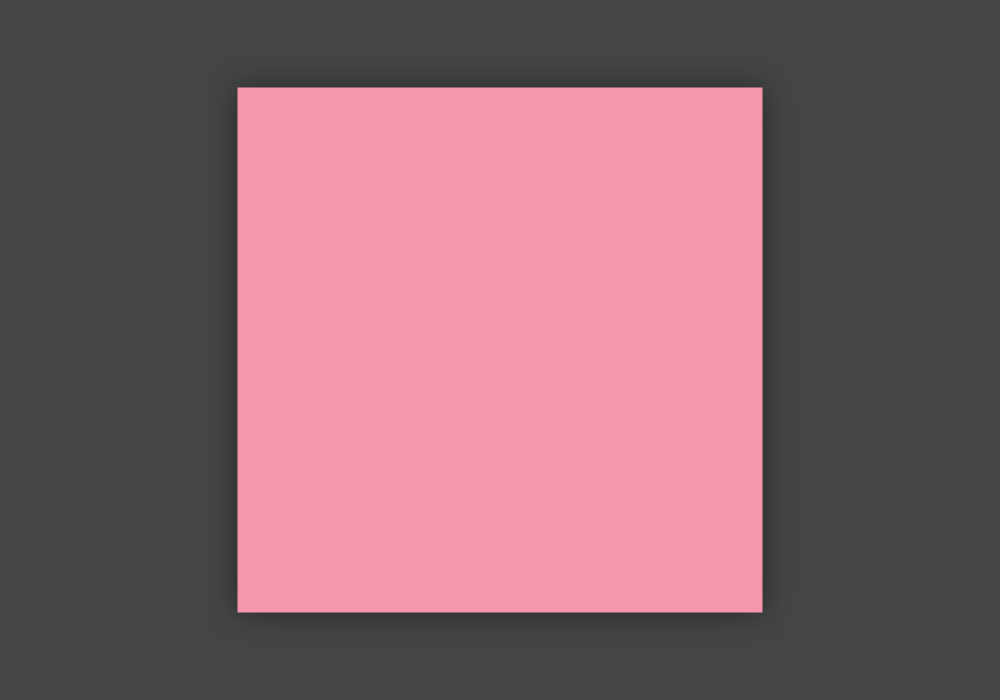
STEP 12 » Either use the Bucket Tool or go to Edit > Fill with FG Color to fill the new layer with your selected color.


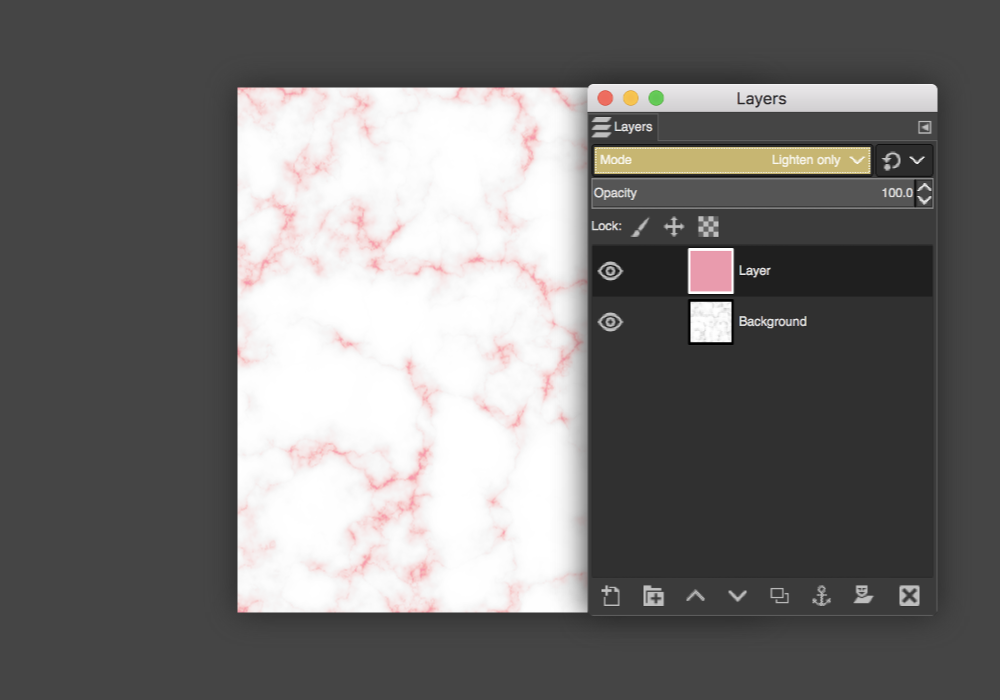
STEP 13 » Set the layer Mode to Soft Light or Lighten Only. Depending on your color, you may want to experiment with the different modes and opacity.


STEP 14 » Once the color looks good to you, right-click the top layer and hit Merge Visible Layers.


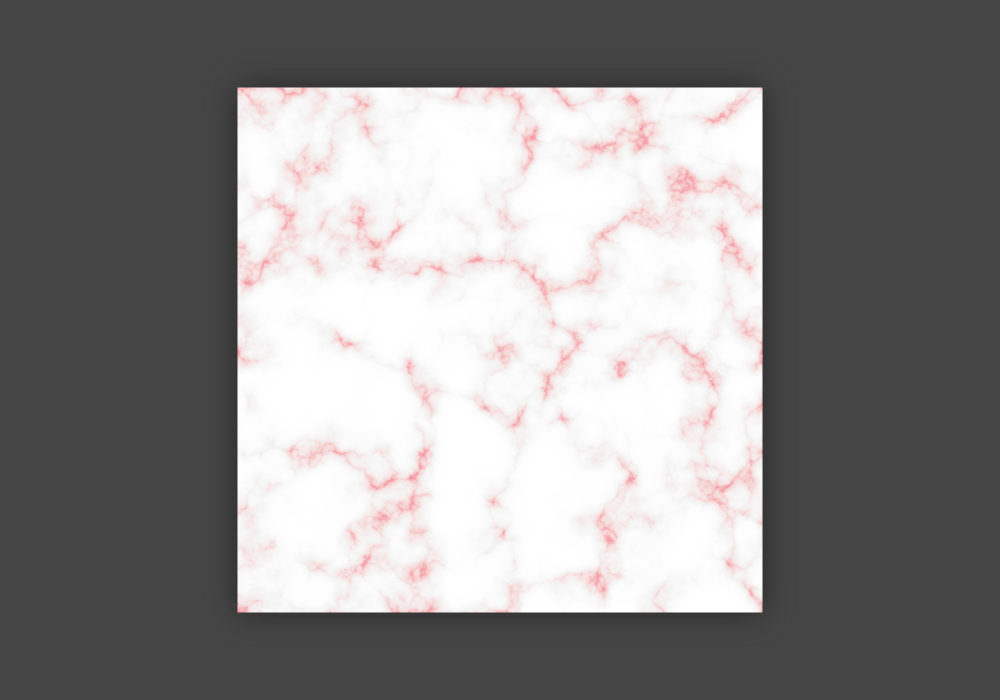
And now you've got a pretty, colored marble texture!


Alternatively, you could paste or open a gold foil or glitter texture as a new layer with the layer Mode set to Lighten Only to jazz up your marble texture.