For this tutorial, I will be using GIMP 2.10, which a free, open-source image editor. You can download the latest version here.
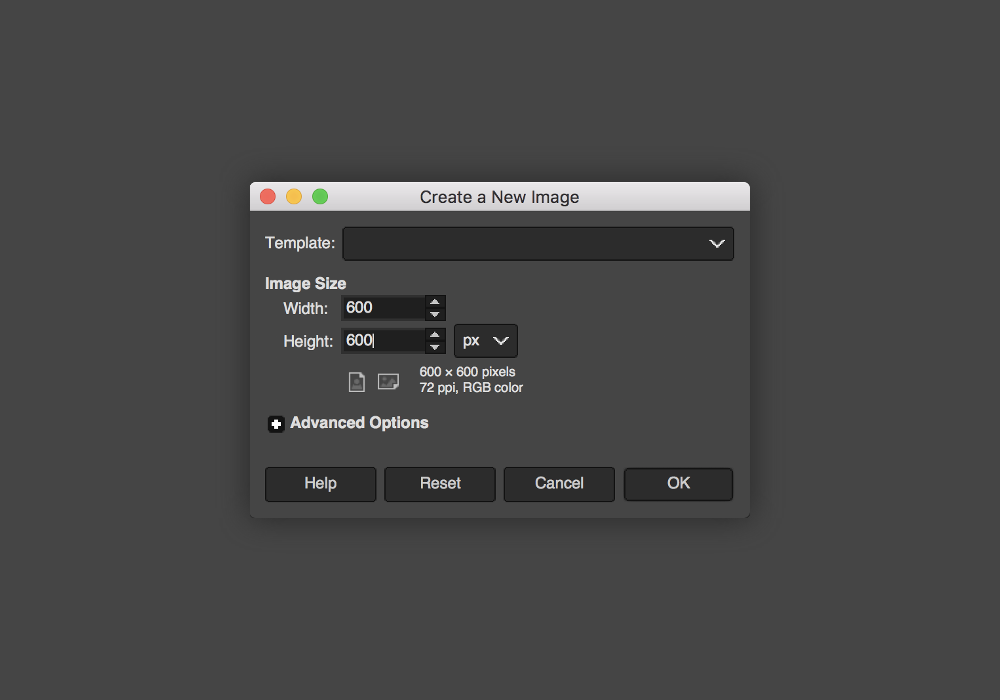
STEP 1 » Open a new file by going to File > New. I will be using a 600x600 pixel canvas but you can choose any size you like.
Make sure your foreground and background colors are set to black and white.
![](https://blogger.googleusercontent.com/img/b/R29vZ2xl/AVvXsEiqv2OU5nmbH4-ISyv6BG_deCcj25McCVbWb-vPDmmfcjXaNDicPm3Q3XReWFyMEWzcgCvwok9Nt7OH76DkgFvA8vV_0hIrhZoxy5A9VwqTOa-w5hMHv0MKPmwQsTOXVzEqM6PjPevRHZlQ/s1600/create-marble-texture-1.png)
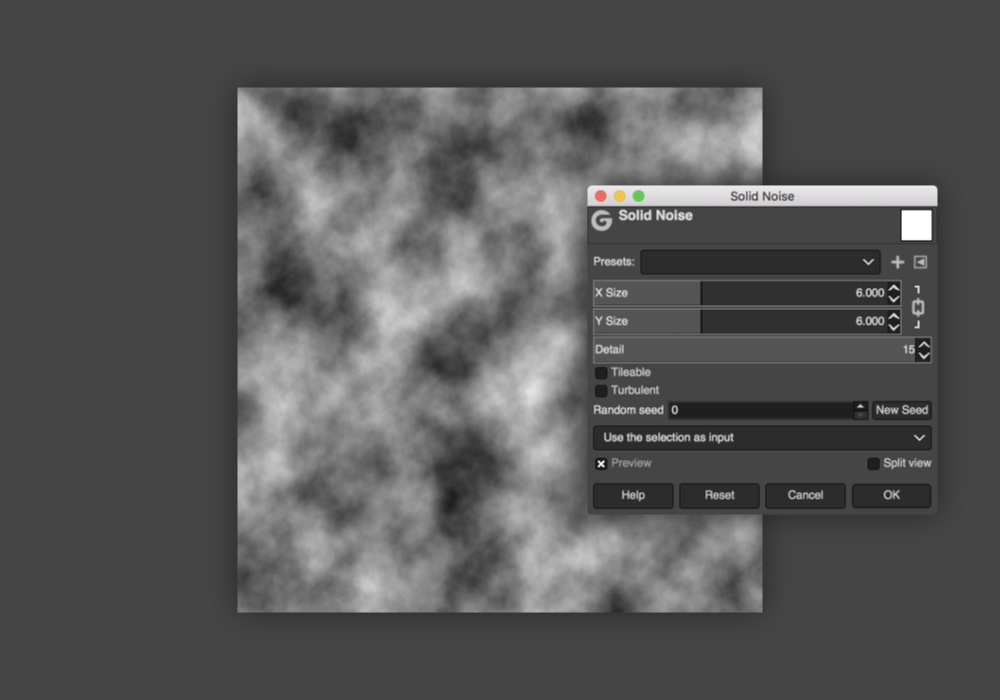
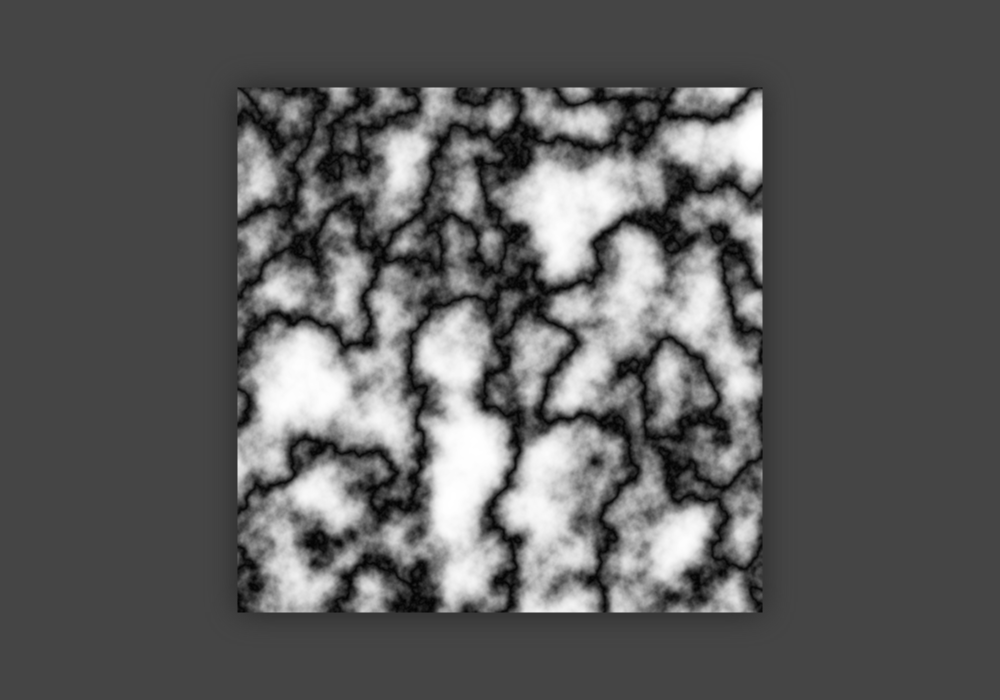
STEP 2 » Go to Filters > Render > Noise > Solid Noise. You'll want the X and Y Size to both be set at 6.000 and your Detail set at 15.
![](https://blogger.googleusercontent.com/img/b/R29vZ2xl/AVvXsEgcl48RdHYfeB4b7QCk3o71Y1YVWBRyhJVmjErDbQQoU8aWjfdxiaSiWtKZ6plv-Jssq0kwmH3hBZ0-SelzA-lkTdXX1h5hq5Y1fASIHrJlO1k57UzW-raAqC5UWCFxWiBjCS8oJcjSPtDl/s1600/create-marble-texture-2.png)
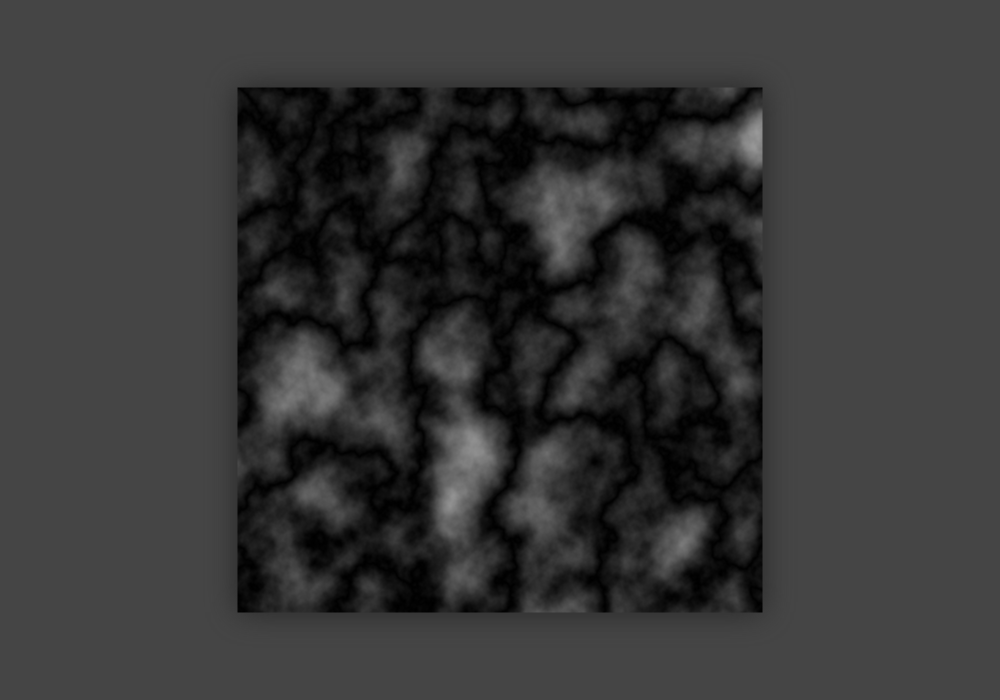
STEP 3 » Next, go to Filters > Render > Noise > Difference Clouds.
If you're using Gimp 2.8, set X/Y Size to 3.00 and Detail set at 1.
![](https://blogger.googleusercontent.com/img/b/R29vZ2xl/AVvXsEhXNFTfs6zDsqHM011DeqybYBlCtiMSUbb5Rqp87Lw0lvE_bu3iHYZBJ_ijAEL36-ftfYNhdrzSbH2zKJ1aMUMPx4kXN3tT-Z92l1Hx6hZH8B3AD4jwZ2KFmQDk7k776Lwjm3s_hML4iZBr/s1600/create-marble-texture-3.png)
STEP 4 » Now we're going to brighten the gray areas and make the veins more defined by going to Colors > Auto > Equalize.
![](https://blogger.googleusercontent.com/img/b/R29vZ2xl/AVvXsEi2WakoJ2s3ScgDYQV0kBnyF7KKbbt-an1L8WcWDjdBPDzjUrjqmzLyMFivcS-7v5MIlonSYAPmJSh7CPUsEUlK1eWdMz3xZ19S4uxOdLXnKkE6UzOH7SYNbSI_B56atUTEJX0sYrpY73he/s1600/create-marble-texture-4.png)
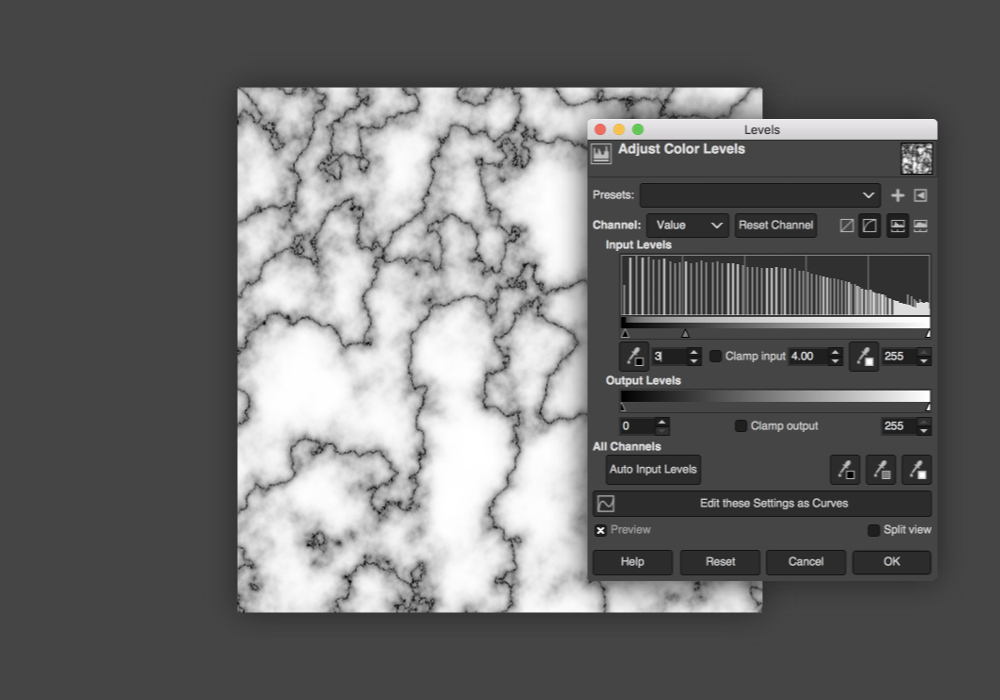
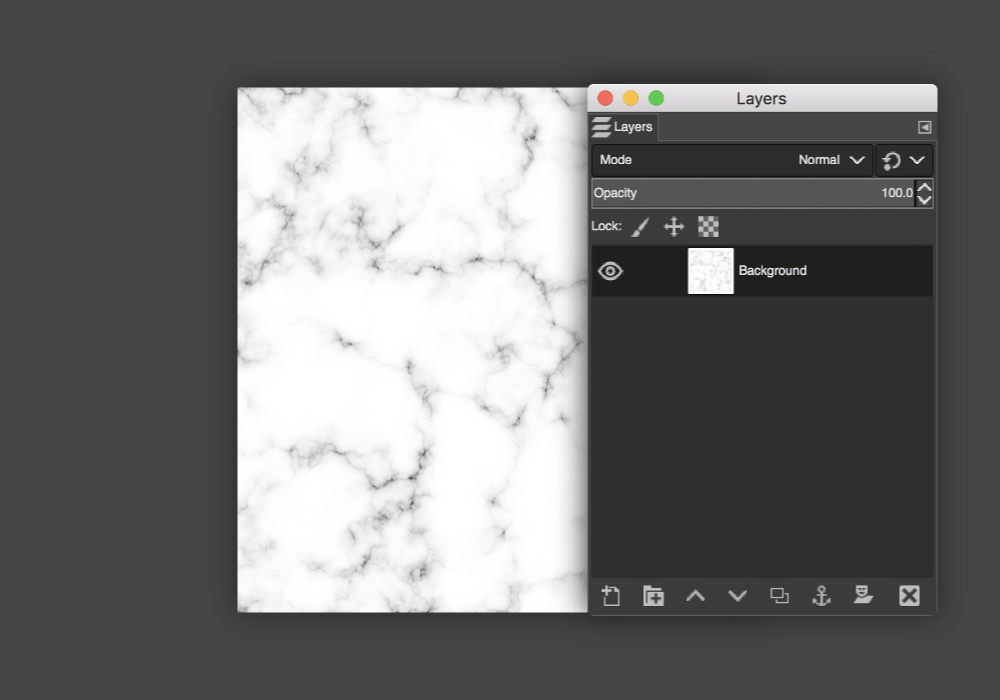
STEP 5 » The veins are too dark and thick so the next step is to go to Colors > Levels. I have my settings at 3 | 4.00 | 255 but feel free to play around with the sliders.
![](https://blogger.googleusercontent.com/img/b/R29vZ2xl/AVvXsEi47OTgSvYoKeMyLf884W8XLXfokMOHz0ZOMbu-h6tLP9jIgRCz8oMLnBilVXF7ryflkmc6u8Cq2vOkCiLbh-3g74IikhpJ_3WpGCe_P-UG85dUEV2oqR_VgDNqN4uPKFmjPt7nMgXCCZb-/s1600/create-marble-texture-5.png)
STEP 6 » In your layers panel, right-click the layer and hit Duplicate.
![](https://blogger.googleusercontent.com/img/b/R29vZ2xl/AVvXsEhDw7vZlLPi0-PkJy_rpV9gBmm_wvk_bXg69a5G3XN7vJs45gkkUOjBPacZn8euAGOS8tNcGGklCwYor8uJMPzFKQLxDJlM9t8XCBBcE7l3t_Phy7O4qrRF-Sg5NNqWezxTyLkgqBqal4Bu/s1600/create-marble-texture-6.png)
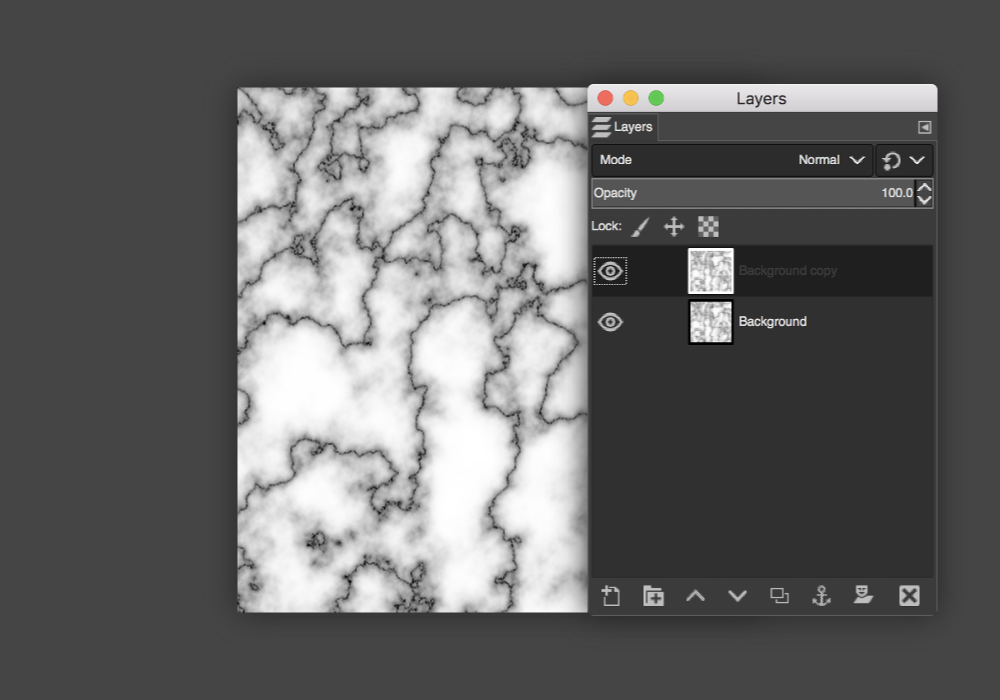
STEP 7 » With your duplicated layer selected, go to Layer > Transform > Rotate 90° Clockwise.
![](https://blogger.googleusercontent.com/img/b/R29vZ2xl/AVvXsEgx6UMO3t54rIQ9107L7Fu06E_KPtEoz6qU7alyjc1YVSMZddLwcYznUHzTY5t6GXtJbPBTxJFIIAwhJoWeKV56nNrstWZPh5c9oj-Bs-2-wkznd8oOv4fN94kTLzAts8HVyS4IKdVTwvGE/s1600/create-marble-texture-7.png)
STEP 8 » Making sure the duplicated layer is still selected, set the layer Mode to Screen.
![](https://blogger.googleusercontent.com/img/b/R29vZ2xl/AVvXsEhynG8-hynaeAAukmtVEnQP9M1oBSdArUhMxrrAAMJyaWlHAtyfwCHnJGrOOhQxlCgcdY4dQqoq3E1jlrwGpViubiPK1BZ8tT0RS_vCts7tly1QAc7ElfcivMIUInws9WLdSlSvsGHS5jVc/s1600/create-marble-texture-8.png)
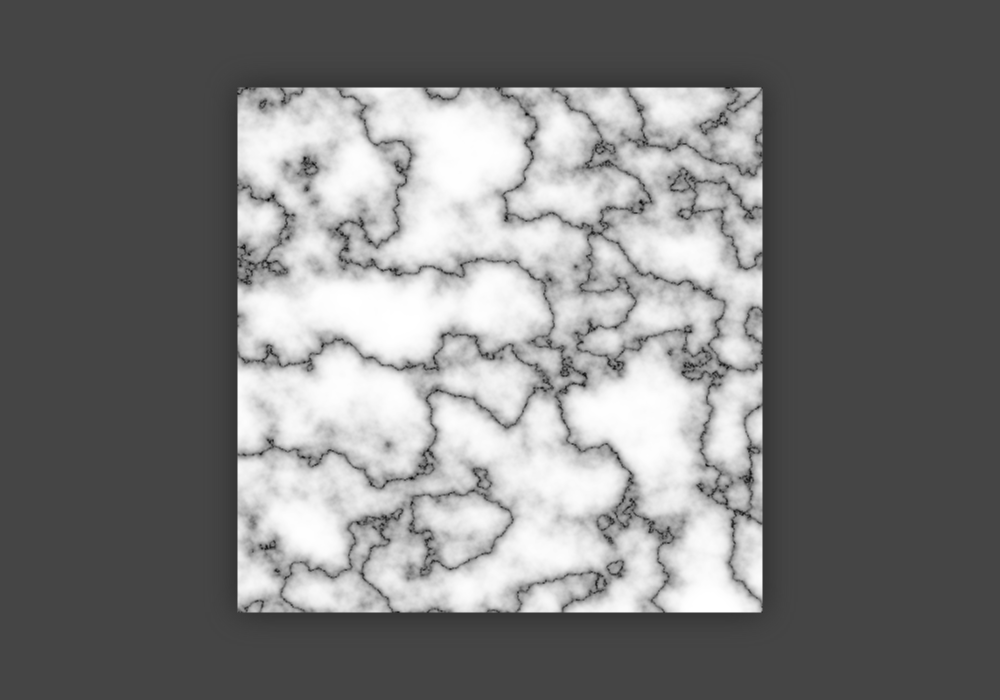
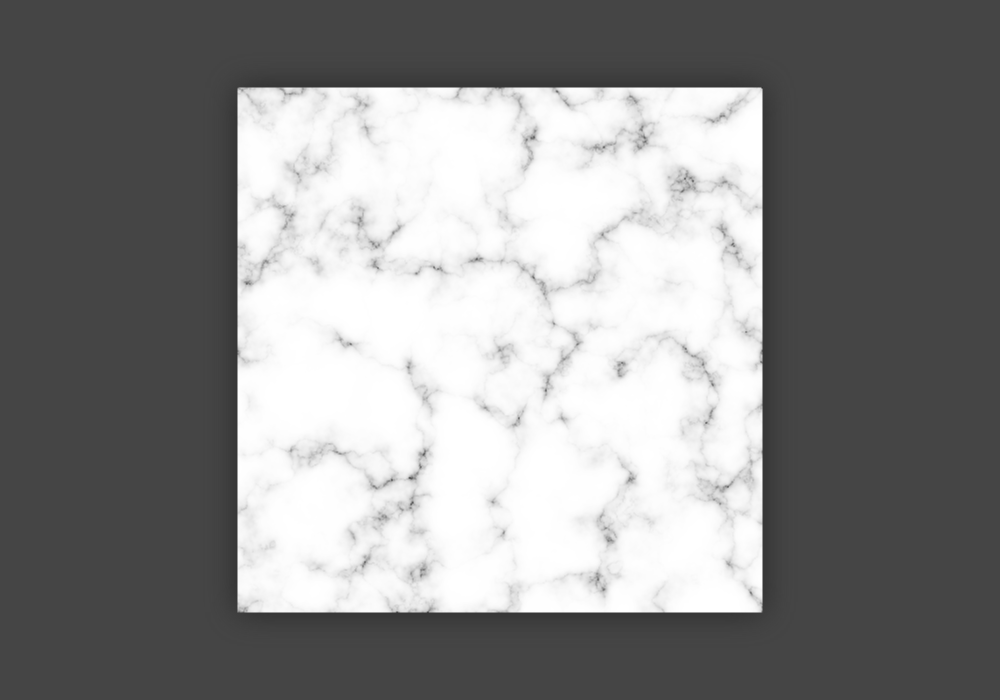
STEP 9 » To finish, right-click the top layer and hit Merge Visible Layers.
![](https://blogger.googleusercontent.com/img/b/R29vZ2xl/AVvXsEhiJ_8BWYoyqw8IoXVS9hdeMk3ulgzsUeEG3qGcXjf1r67LesDwZxi2mWJRNqKSQZtS62hKjAxDvohQ79UYLppOShIwxKVbx7FNj9FwGxM2DzLYkGLWw6jgkuz-kRI2WMbG9ZfkjG5bpULm/s1600/create-marble-texture-9.png)
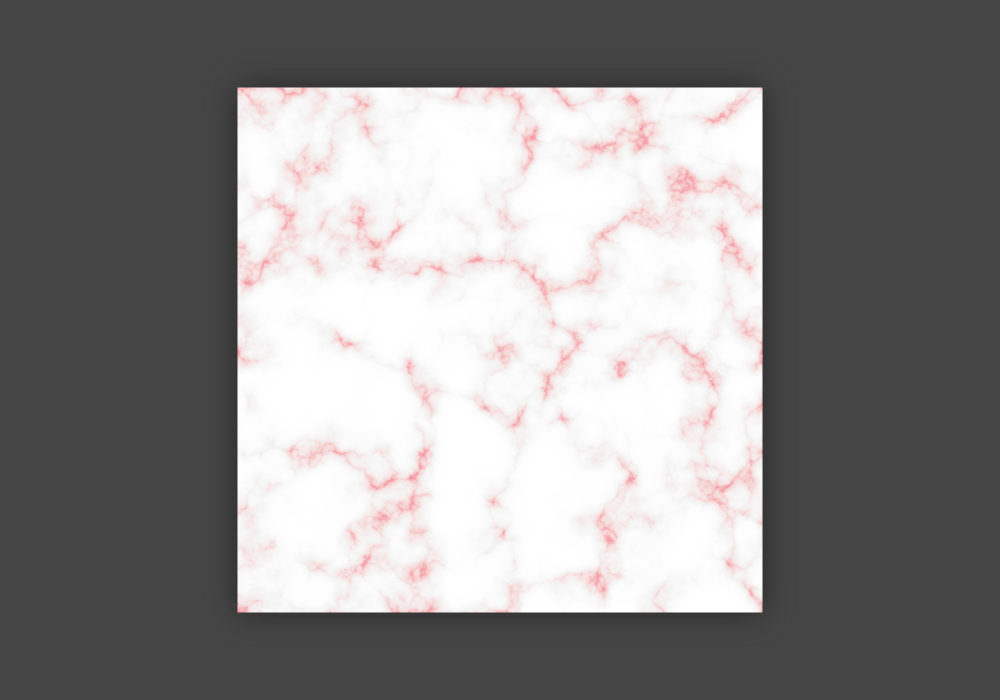
Ta-da! You've got yourself a beautiful marble texture.
![](https://blogger.googleusercontent.com/img/b/R29vZ2xl/AVvXsEhataVR-5mxzPaSl_UvsuVRZjSecFPaWAtcOCcOc6Y3AcOZcb-TNeMwEapfd6BfNSxah1exTmm5eH6z_eb5Pu-Rnjw8sbFAlrmd3WhnY-CAOTcEVTUQGIWJMRaG1PLfqBhv8dCF2XiQV7ZN/s1600/create-marble-texture-final.png)
OPTIONAL: Changing the color of the marble texture
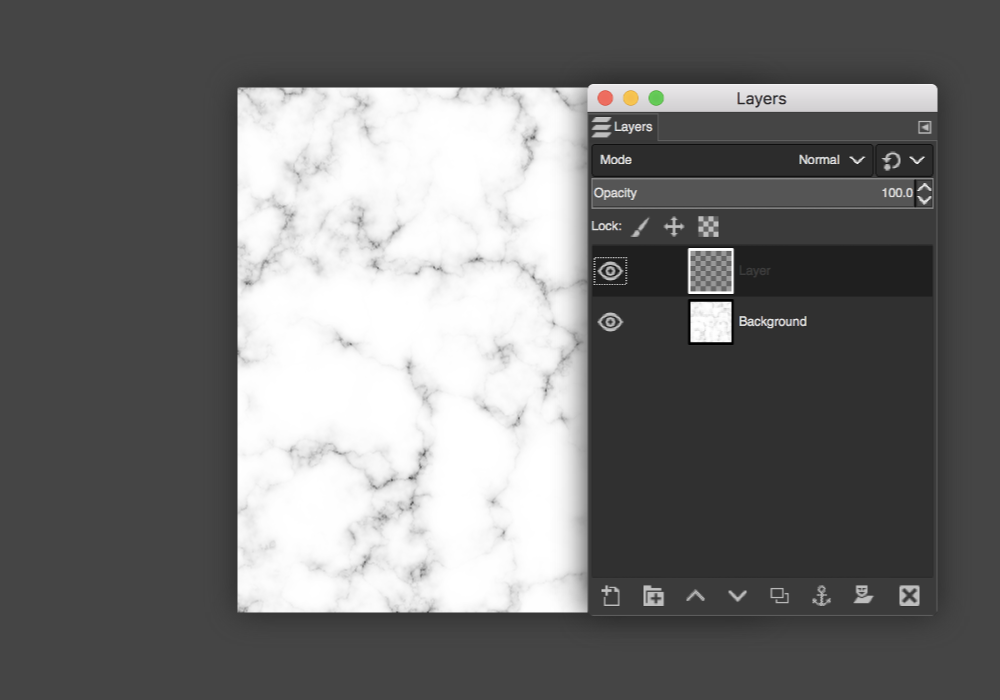
STEP 10 » Add a new layer on top of the texture by going to Layer > New Layer.
![](https://blogger.googleusercontent.com/img/b/R29vZ2xl/AVvXsEhKifmYqmxJOUOl7KsnOYrfwSw6CYnGQ9fsVsG5iaDektfuLKGlhp_nMeEEgM1cz1_L8ZqJr97cmIanaoRnA6l62tAC6D44_1biRmcAD8b3uuN5UtmnbsaKzcCNT59-aLMLrEtQIRYq6V11/s1600/create-marble-texture-10.png)
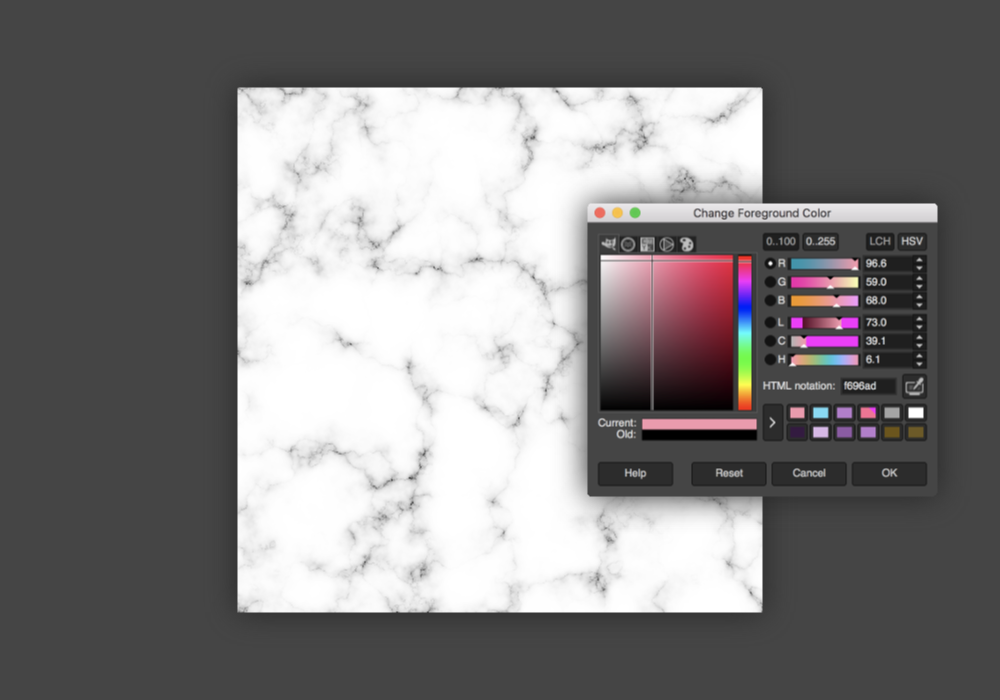
STEP 11 » Set your foreground with the color you'd like to change it to. For this example, I'll be using #f696ad.
![](https://blogger.googleusercontent.com/img/b/R29vZ2xl/AVvXsEgUaeElxTiuK1LyjSchuXCZJiKFGPRz9tYadXZ2YWUlTCfO-dMFx5EaNyNIOaGhE5nV9RZfkYSPisR72567Vw_A0qLLwW8oJGcX1RKQP15RNM3dP89VcbzBCdeZMORzGxiQToe8xZBKtRe5/s1600/create-marble-texture-11.png)
STEP 12 » Either use the Bucket Tool or go to Edit > Fill with FG Color to fill the new layer with your selected color.
![](https://blogger.googleusercontent.com/img/b/R29vZ2xl/AVvXsEhBwTZIvCjzPg9QYa5brg-1L7Etk1C4WyfYx3t2oweNJcgaXQ8pfVHDlZjczlhPqYqbs98rcoPXf6Zi2rI1Rt1SIAb0HVYj0Na_zxzIQKznh-S4haql9LpQ1KPKMZYNEOyH_jSplDf8FY4q/s1600/create-marble-texture-12.png)
STEP 13 » Set the layer Mode to Soft Light or Lighten Only. Depending on your color, you may want to experiment with the different modes and opacity.
![](https://blogger.googleusercontent.com/img/b/R29vZ2xl/AVvXsEjCOAlnss4cDgVOwiOwfwYn61ZtAHiBB-uyHOLmDymh0WXycAiZng5UAR3uu2gm_2FTkGiYZCHPk-F3j_jtzAQGB84tew8zomEZAa5N3AgVEnyVxZpplSIUotnBkMkfk31bj3CIOjNTO9c9/s1600/create-marble-texture-13.png)
STEP 14 » Once the color looks good to you, right-click the top layer and hit Merge Visible Layers.
![](https://blogger.googleusercontent.com/img/b/R29vZ2xl/AVvXsEgrLTWbx7ipXSmu4TbwfQFdH9PuRcavLX7y5ITi-9OBssoPOMpGHTY97V6hBfPdsYwgvtVKa4lgt2fmOjQoNbYiCDH75DKK1cwM471Ceir4CLQ_Ug8PLDWNBvd3U0ozu_vcDCYD4fJEQs5C/s1600/create-marble-texture-14.png)
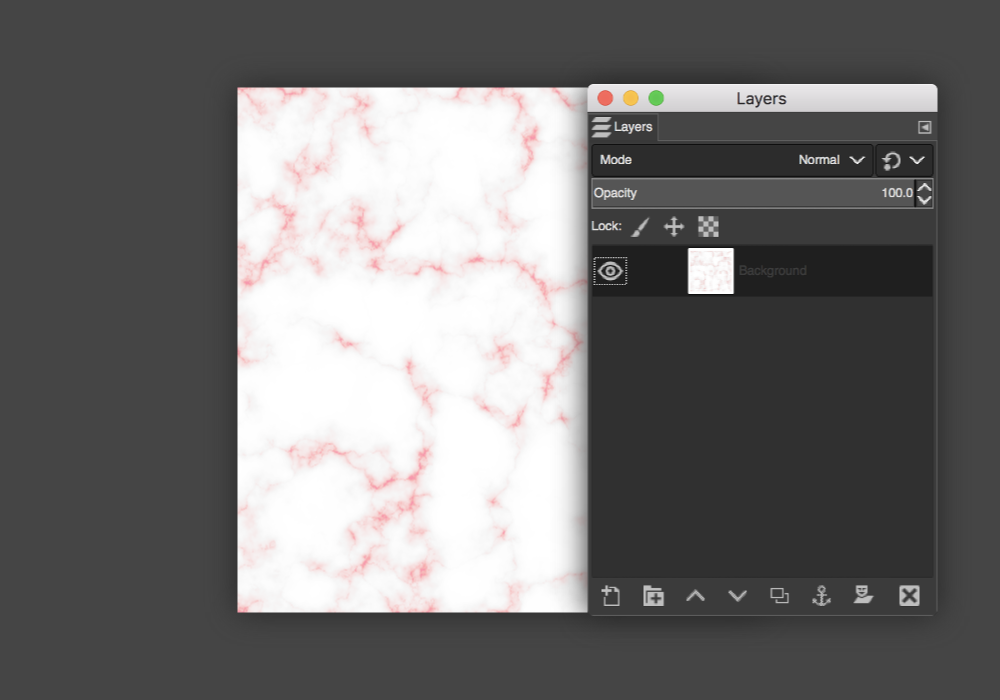
And now you've got a pretty, colored marble texture!
![](https://blogger.googleusercontent.com/img/b/R29vZ2xl/AVvXsEgvxjkmnhMWxSfOxCb-Zj6IMcDtIpiGxbkDI2JQNAwY51sehgFBpyNaVOzdKRSBhhXl7tSn8cikCeMFXc8XmIcl2qNMW4c3dJ1tE2w3of8ri7AOWqKAqHN2N1C8QnOSWqsuBeVes-sIhzzR/s1600/create-marble-texture-finalcolor.png)
Alternatively, you could paste or open a gold foil or glitter texture as a new layer with the layer Mode set to Lighten Only to jazz up your marble texture.
Leave A Comment