For this tutorial, I will be using GIMP 2.10, which a free, open-source image editor. You can download the latest version HERE.
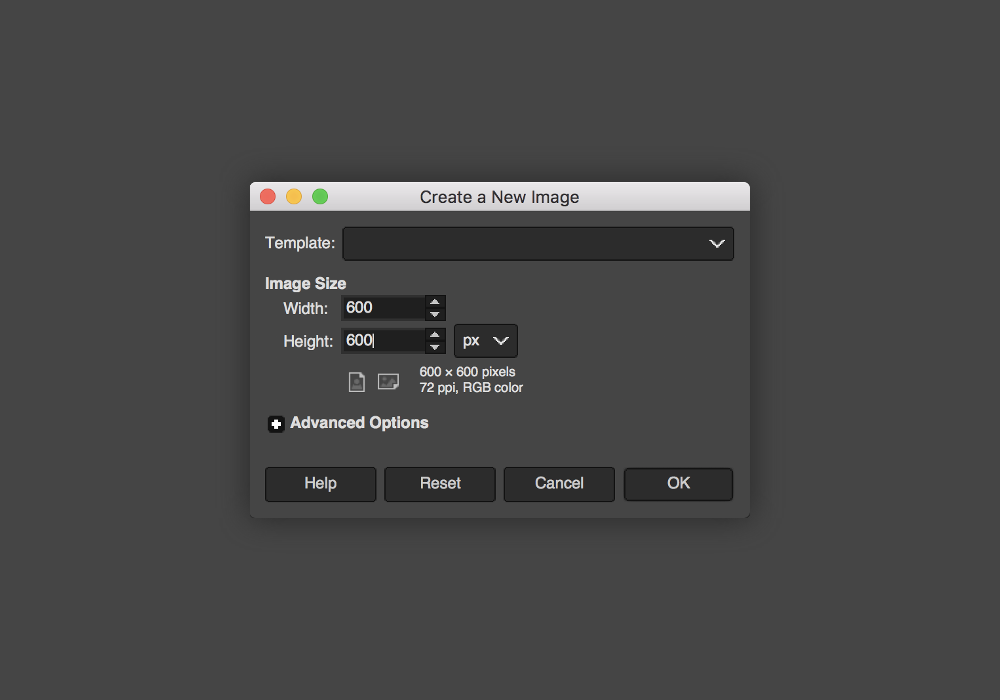
STEP 1 » We'll start by opening a new file. Go to File > New and choose the size you want your glitter texture to be. I'll be making mine 600x600 pixels but feel free to make yours bigger or smaller.
![](https://blogger.googleusercontent.com/img/b/R29vZ2xl/AVvXsEj8dTCJCQ8YD0odemnUWlfdOQom8yA_374W8HAptSIi4kJNnX4-8i5y9NHREcJlBn_eFwzOO_ZenJ_f5mmfAGVQWaKYBtSZsOKdp5JXQPVPpFL3aX9xw-_l3trGsfLEqpYeoeYBWu0rQSkF/s1600/make-glitter-1.png)
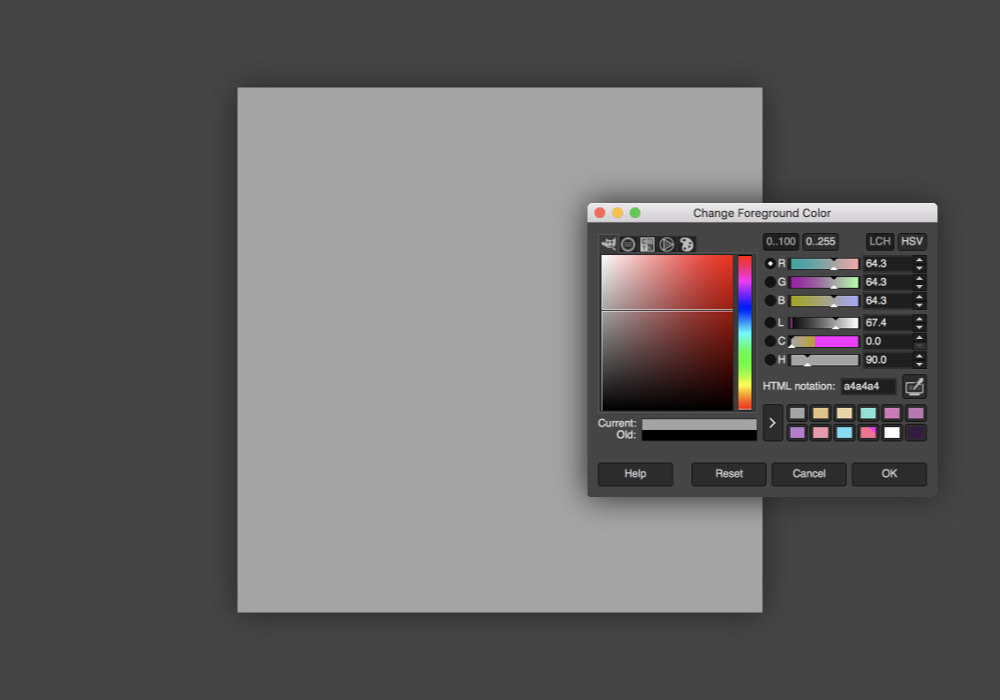
STEP 2 » Set your foreground color to #a4a4a4 and use either the Bucket Tool or go to Edit > Fill with FG Color to fill your canvas.
![](https://blogger.googleusercontent.com/img/b/R29vZ2xl/AVvXsEjtYkVqKsToB72S3YL-BUVaInvCHanjR1GmhhxHyWIczEly9tK_VNUQxaXqwzq7eytQaDAhxhqvQQhgbpcAn2FDjTCf2gkvbbbjgEEhYX8TPf4wG1rt_l-YGa-IGkuHXbAdNQhxLUSxdJFB/s1600/make-glitter-2.png)
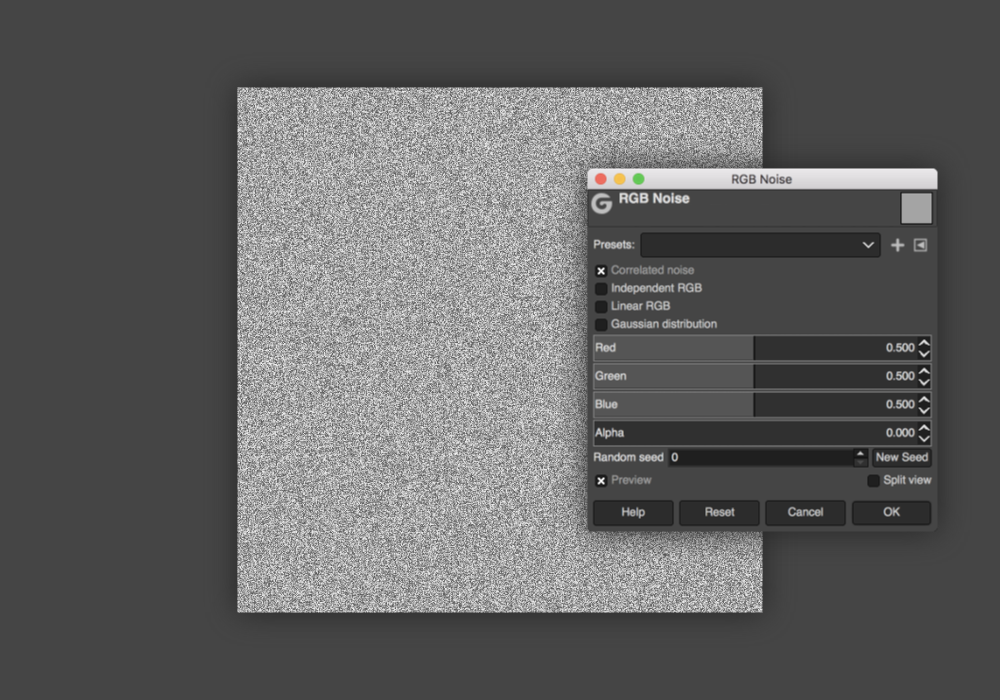
STEP 3 » Next, go to Filters > Noise > RGB Noise. Make sure only Correlated Noise is selected and set Red | Green | Blue to 0.500.
For GIMP 2.8: Set RGB to 0.25.
![](https://blogger.googleusercontent.com/img/b/R29vZ2xl/AVvXsEhGBDbwOw2CWceA_ieTcXmoflHuhyphenhyphenKbgh5yRlEyE1T9d7aQMGKcl0XQp5tDVOToHfY_1WkQlMxfpm4AKQRERJxuV_12VcMvKRalmdzSxh7zKCNvQ-XW4ZT9D_sIzuenmhzJyIHy2ermtFHl/s1600/make-glitter-3.png)
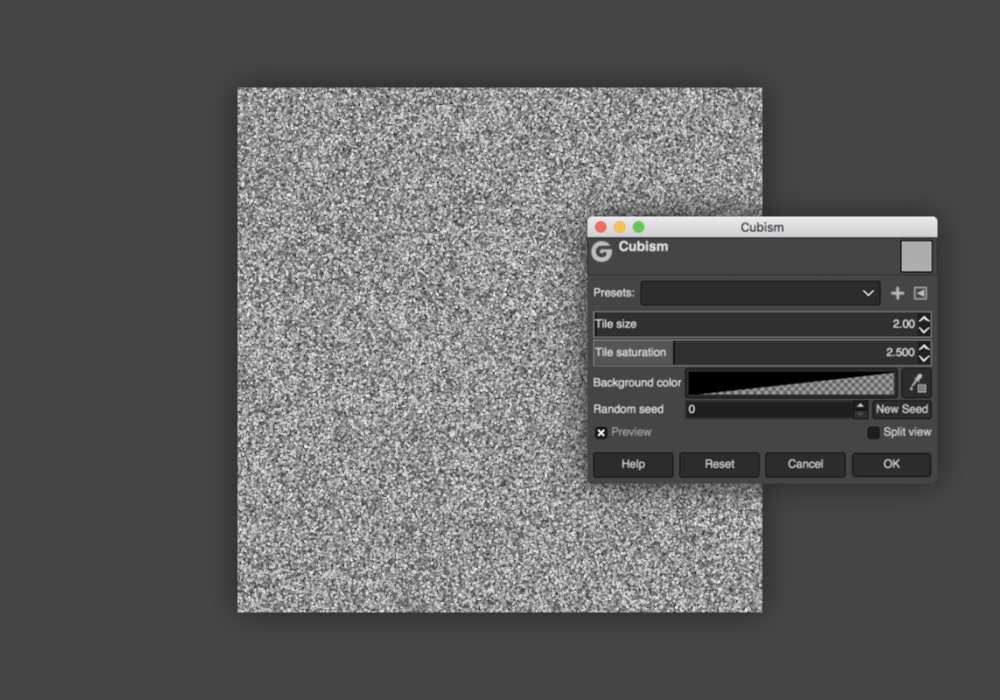
STEP 4 » Now we're going to make the glitter a little bigger by going to Filters > Artistic > Cubism. Set the Tile Size to 2.00 and Tile Saturation to 2.500.
For GIMP 2.8: Set Tile Size to 1.3 and Tile Saturation to 1.6.
![](https://blogger.googleusercontent.com/img/b/R29vZ2xl/AVvXsEhgPjqiPa15AKrHJVcyGUeAUEuPofS3J-zxKElRMgfu8lNJrxY_GLQw0_LhGbwjxWusV-HUbmXl_uhiXK6O9m_NAHNfEMg95HL33Otnj9AM_n6WGP9OclOD47gmC8omUTKMaS3V82PR9Bf2/s1600/make-glitter-4.png)
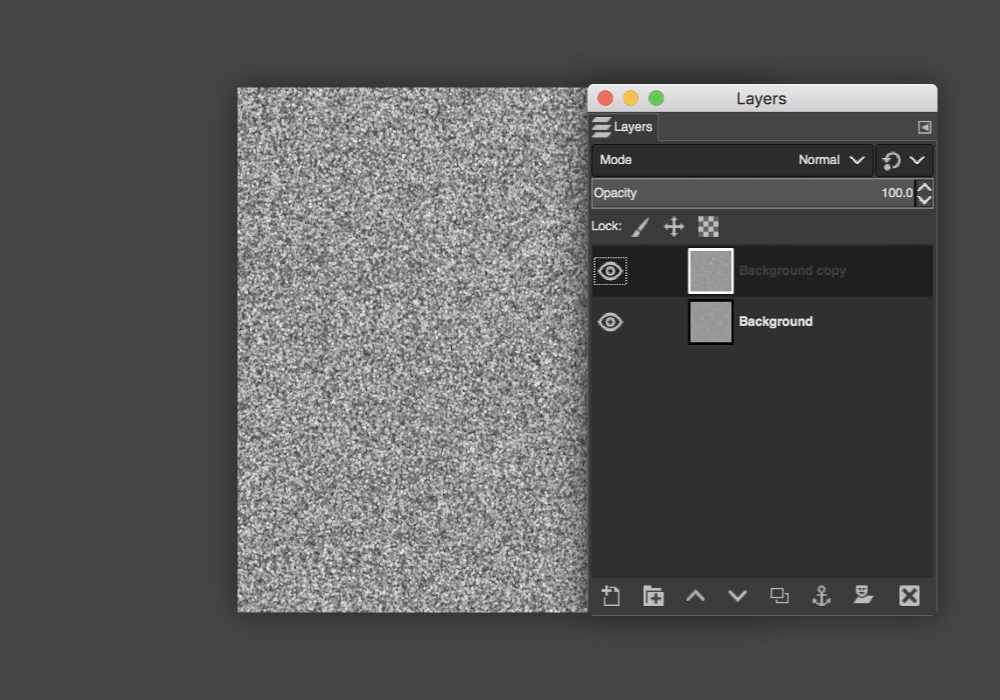
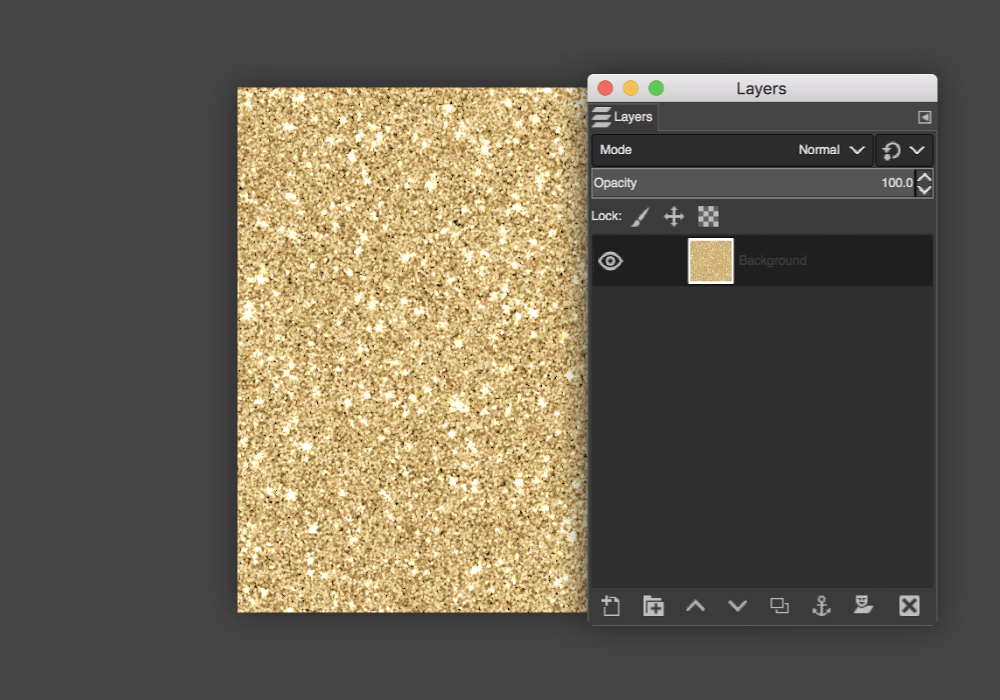
STEP 5 » In your layers panel, right-click the layer and hit Duplicate Layer. With the duplicated layer selected, go to Layer > Transform > Rotate 90° Clockwise.
![](https://blogger.googleusercontent.com/img/b/R29vZ2xl/AVvXsEjwA4yyxpg819_iLJSdeehc_JLjLjChqXrbXA7doUFj7jJyP_oHNENxs40E8RNYt8GAgZ7hG_rNwNo8uuUREE7Kf2N1UGw0v79vfjxra2_PEsms3DH89E1nFGDSiaOEuqPzIb2RDHi5rtAJ/s1600/make-glitter-5.png)
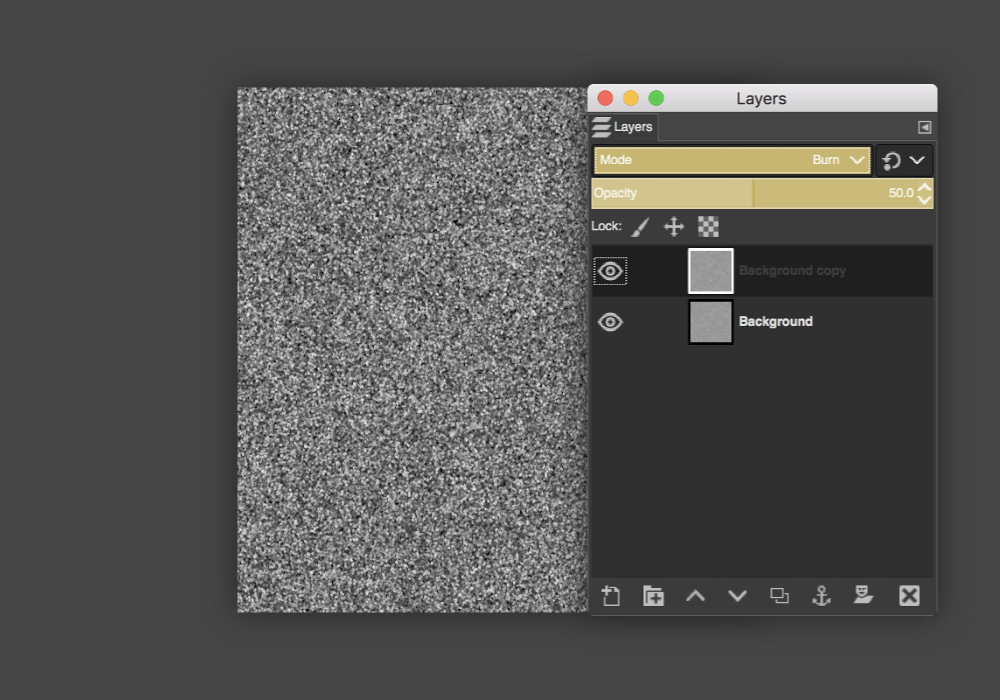
STEP 6 » Change the layer Mode of your rotated layer to Burn and change the Opacity to 50.0.
For GIMP 2.8: Set the Opacity to 25.0.
![](https://blogger.googleusercontent.com/img/b/R29vZ2xl/AVvXsEiptXwnC-_NqpAhJ7UZIwD-Q8YpKK7BFaUafRLEvZT1lPMl2aMrOdxXyVp_STYoqLbHqMQOmfVan9OuJXg6qcb1PPswmiqK3P0mro3yGCWEWyoQJzUahKo2DeA-w2EMg5qw3PAYj4JOgvV-/s1600/make-glitter-6.png)
![](https://blogger.googleusercontent.com/img/b/R29vZ2xl/AVvXsEhsoJcCj3MSrH0150PlXgAtPCyrWLzNDEv7J9ZCQ7Y5BOJY6-Lc5zs0xjvlkbuzBGNVDyA6OQqWihiVJLJ3jrcaNarGfoFO9SbcJB4HT3VK3VhGShXLlaihrMTeewe6S-El9zd-DdRzAouL/s1600/make-glitter-7.png)
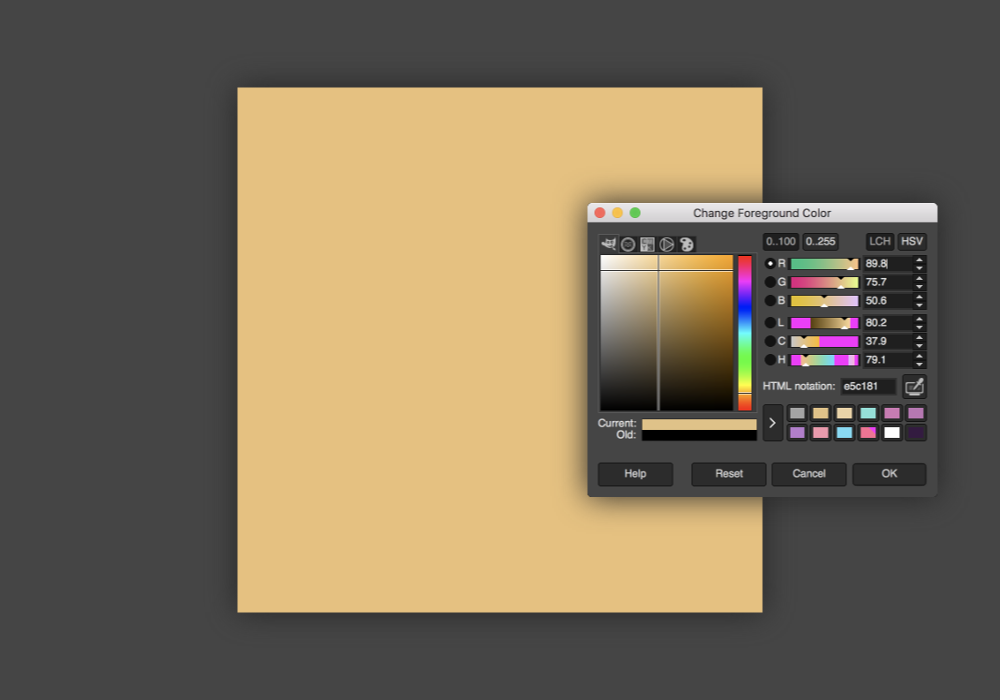
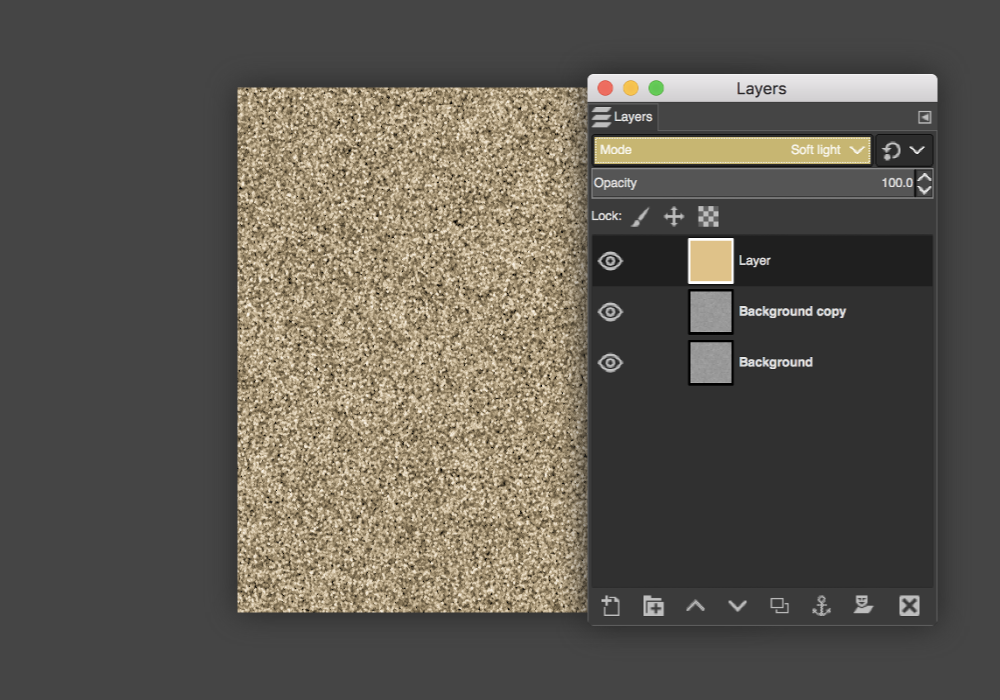
STEP 8 » Select a foreground color for your glitter–I'll be using #e5c181–and fill your new layer.
![](https://blogger.googleusercontent.com/img/b/R29vZ2xl/AVvXsEiK3bn5UgiuvFalYf9xPEMS_GqPGJtJeKr6G6X5Hy6Zw4jHE5OrtBLxW1xP8eGb8-ENdYsveXxM9uYF-fwCaTRndSGo_kvdt_pdDTjvNXgkmJ1c1RbltMQsedRDcTFaIxPGj_OYjYL9-BpD/s1600/make-glitter-8.png)
STEP 9 » Change the layer Mode to Soft Light.
![](https://blogger.googleusercontent.com/img/b/R29vZ2xl/AVvXsEgt-UhZ80LSIqLyoZBzKZuOyK7XXVuRzQefyyGygBuavuPIYMbabGNEAp7mMMbAg5gZPYIlkaXSyVs61mCHXm9y-NQZjk26ELiudL2jp7KMacR6Yl8qNd7p5Mhzk_PsTgKq_KDWUlpo20qu/s1600/make-glitter-9.png)
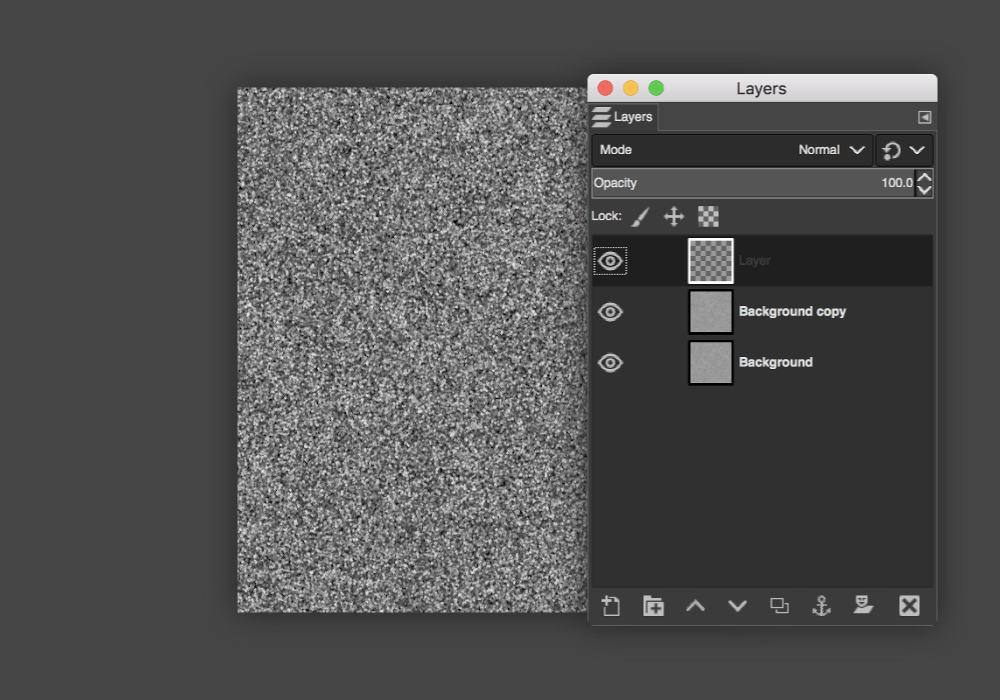
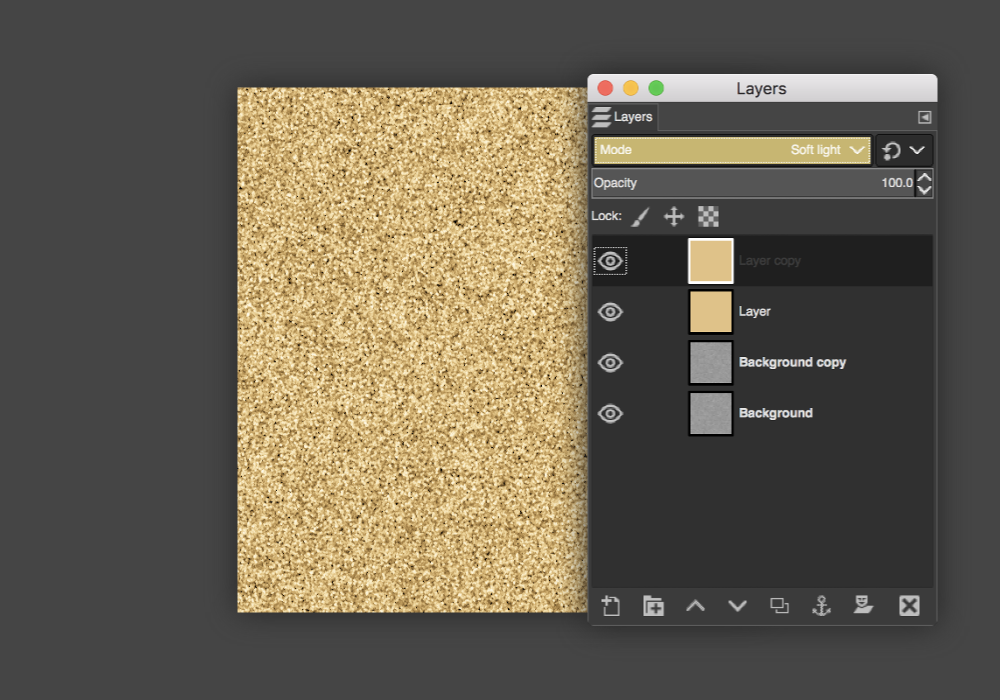
STEP 10 » With your newly filled layer, right-click and hit Duplicate Layer.
![](https://blogger.googleusercontent.com/img/b/R29vZ2xl/AVvXsEgGKEd7Fgb4ukpYAd80X0DxXXhaDneDadXascH_BOrAyT5x9ccwvtoRuuJbPXaCXF_MrEnytm4WH-prZO55Y2B3wwYJhAk3jhRGiieMi43KJdqEUITek7BNguGdx5edkTkIMif2wqPnTdOH/s1600/make-glitter-10.png)
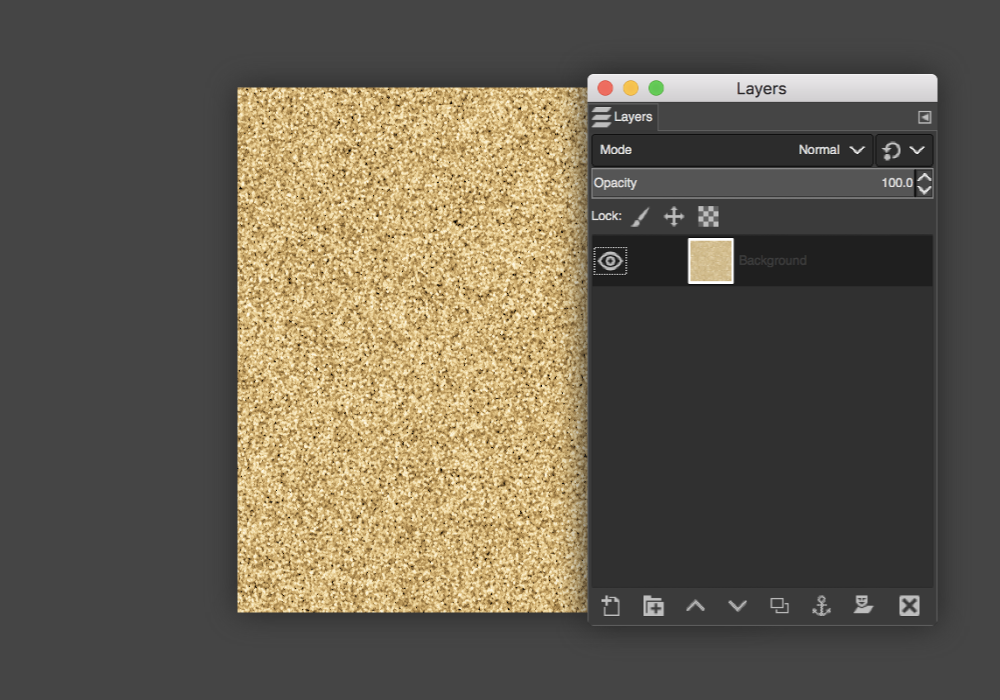
STEP 11 » To complete the next step, we'll need to first right-click the top layer and hit Merge Visible Layers.
![](https://blogger.googleusercontent.com/img/b/R29vZ2xl/AVvXsEidibwV54fhv2MoX-kJtcyYPIyP5uQkRJZ5cHUREPZsLY59KI3zRttLIwfzddzeG3lXLAxrLLmiCs8DHrN-CmqVn5-Xy12345-8ckHwNIVF5VsF6EzBqwMrpONl-kwtAHCoKh0s0a48V_Xi/s1600/make-glitter-11.png)
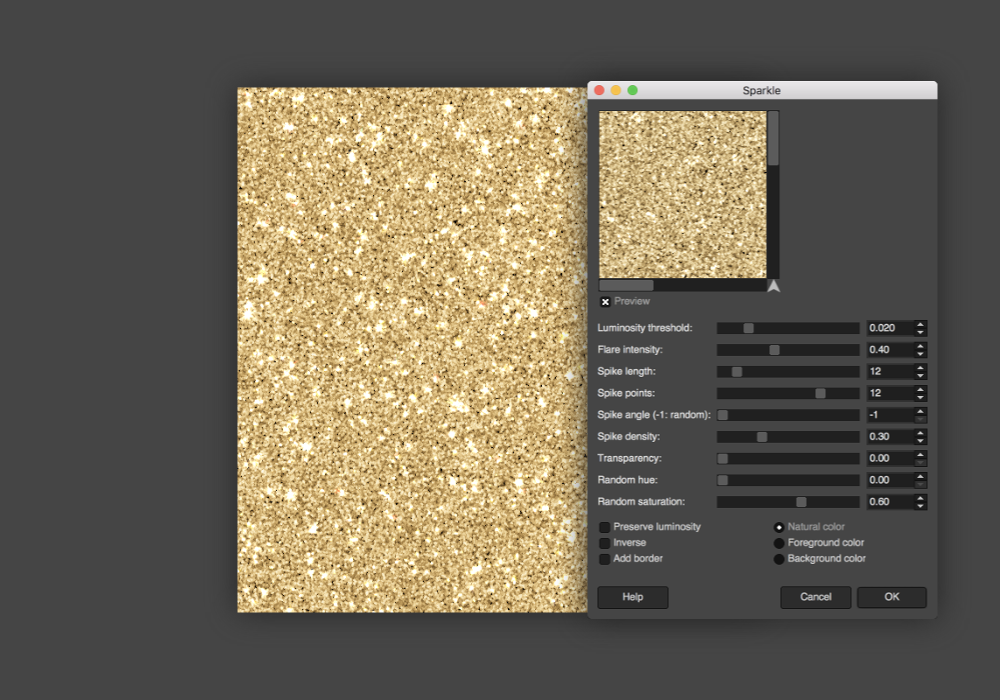
STEP 12 » Go to Filters > Light and Shadow > Sparkle. Input the following settings:
Luminosity threshold: 0.020 | Flare intensity: 0.40 | Spike length: 12 | Spike points: 12 | Spike angle: -1 | Spike density: 0.30 | Transparency: 0.00 | Random hue: 0.00 | Random saturation: 0.60 | Select Natural Color.
For GIMP 2.8: Luminosity threshold: 0.020 | Flare intensity: 0.40 | Spike length: 6 | Spike points: 12 | Spike angle: -1 | Spike density: 0.30 | Transparency: 0.00 | Random hue: 0.00 | Random saturation: 0.50 | Select Natural Color.
![](https://blogger.googleusercontent.com/img/b/R29vZ2xl/AVvXsEj0dExSiGDCFPdi62eh8BeWYDyZLrk2DT_IByzNkjRrM0UdBaPM19gIuCvtgWO2dMgiGn5Oys0pfX0O9U-Uo4aXzoy_v5V890BGAPubQ-RRBrpSStYbUVvNABCg7munJRGRsfN-NaOOauqq/s1600/make-glitter-12.png)
STEP 13 » Finish by right-clicking the top layer and hitting Merge Visible Layers.
![](https://blogger.googleusercontent.com/img/b/R29vZ2xl/AVvXsEhttHQ-_JJY4ITwXGBVDa31XgtQWlZcDf5rQL4ZehlVSJHEMDFx2uvayusRjXCvEA8EqLdIXExizTlgASwO-8LLBI7lme77yTRC9ijvTHT5sVLpnx9pjmwSYqmVWJLKwNXEIhmMzP9vEppB/s1600/make-glitter-13.png)
And there you have it! Your very own glitter texture. Pretty, isn't it?
![](https://blogger.googleusercontent.com/img/b/R29vZ2xl/AVvXsEik2o8dia2Mf700ijF7SIzBxZzyO2A-dKR6CszCW1uZflOpXM5vSra4QWolWz1Si93QUdn81Lko4mEGlSIdVutlD4-wqGsyVTb9_TBeN_ezN8n-pYNR25V7pVxO845o3UGlGgaVka6MXyTC/s1600/make-glitter-final.png)
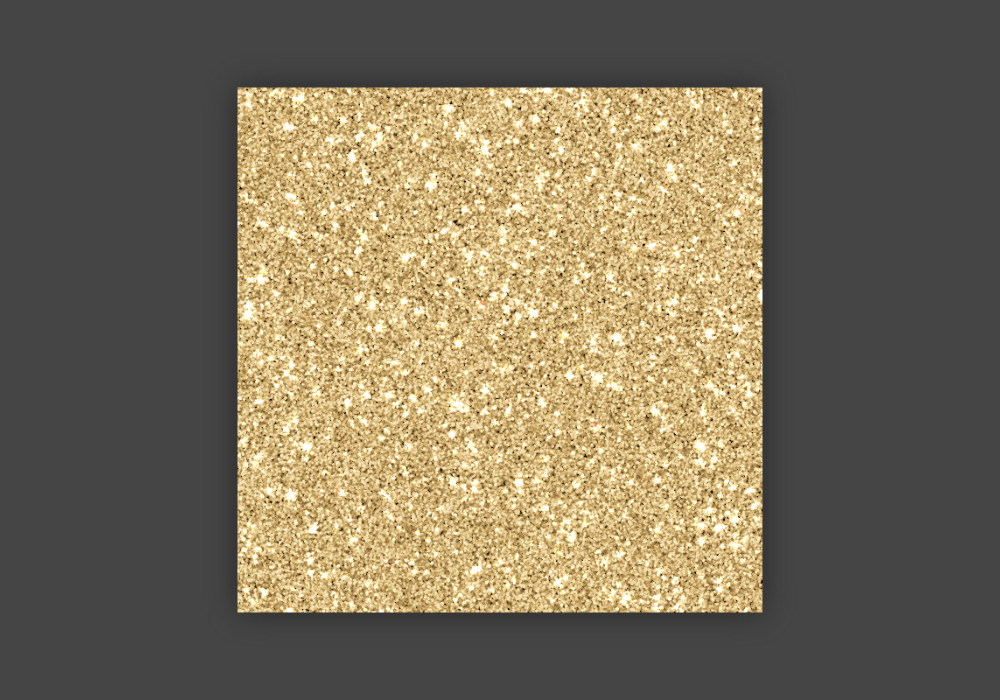
I hope you enjoyed this tutorial!
Leave A Comment